DIY, Projects

Saving money on fancy storage by drilling holes in a piece of wood

Keep it simple, silly

The long wooden board being held in a vice. It has 8 holes drilled in an even 2x4 grid. It's stylised to dramatically highlight the board against the background.

How I built a simple but effective storage system for my drill batteries using the power of being a cheapskate.


The problem and the idea

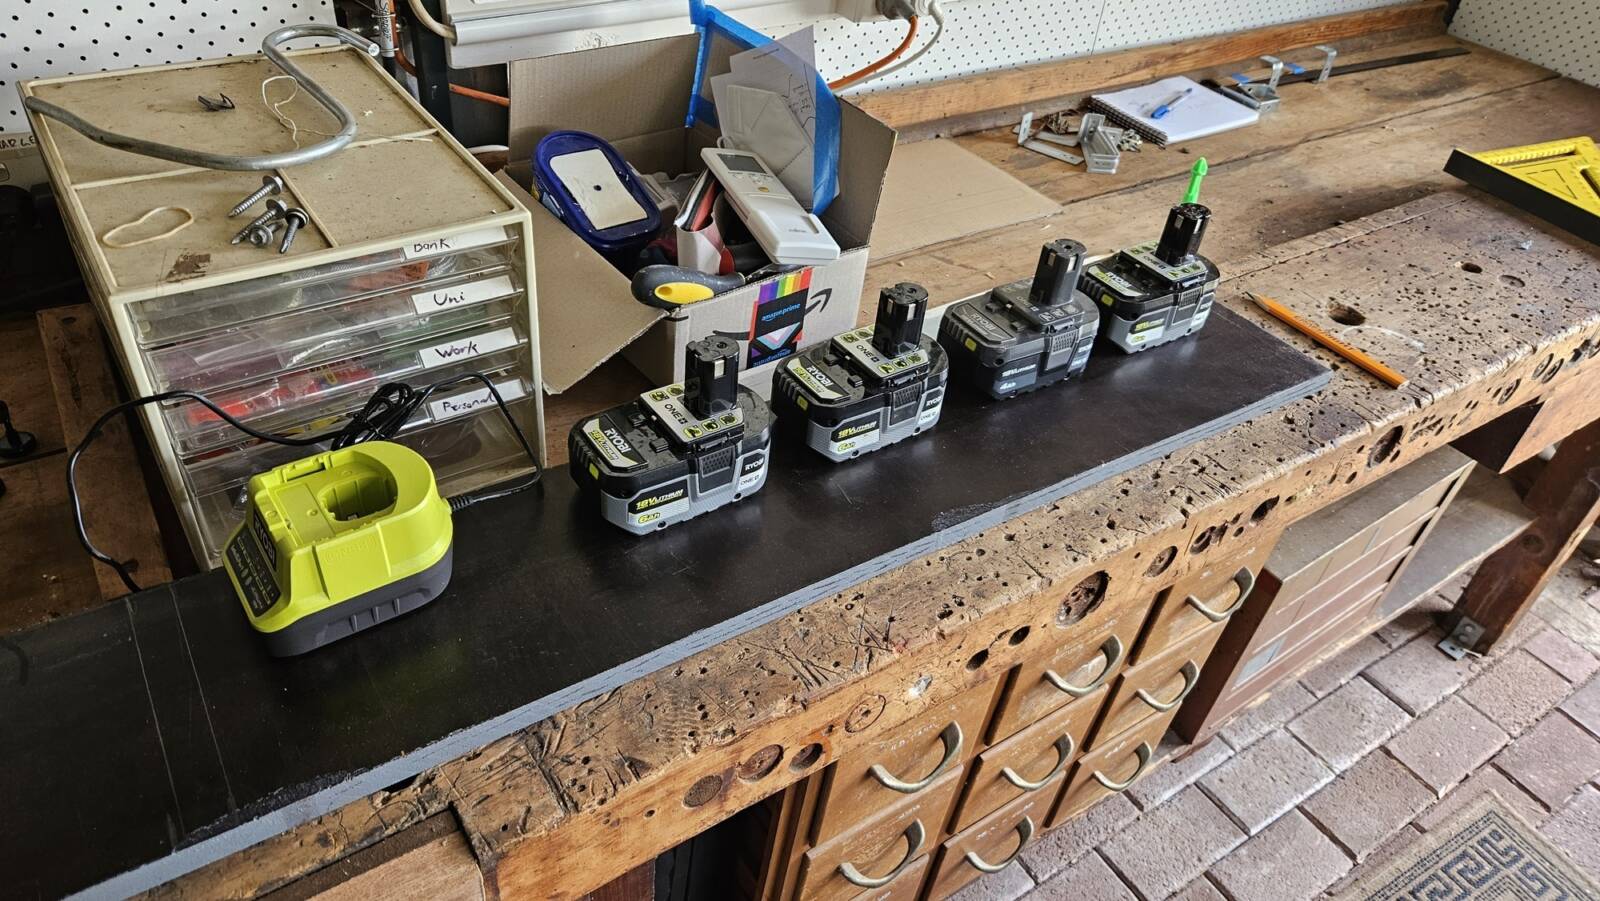
For a long time I was storing my drill batteries on a bench and it was kind of annoying. They were kind of accessible, but took up way too much precious bench space.

I dreamed of buying some fancy 3D-printed mounts from etsy, but they were a little too expensive, so I put it off.


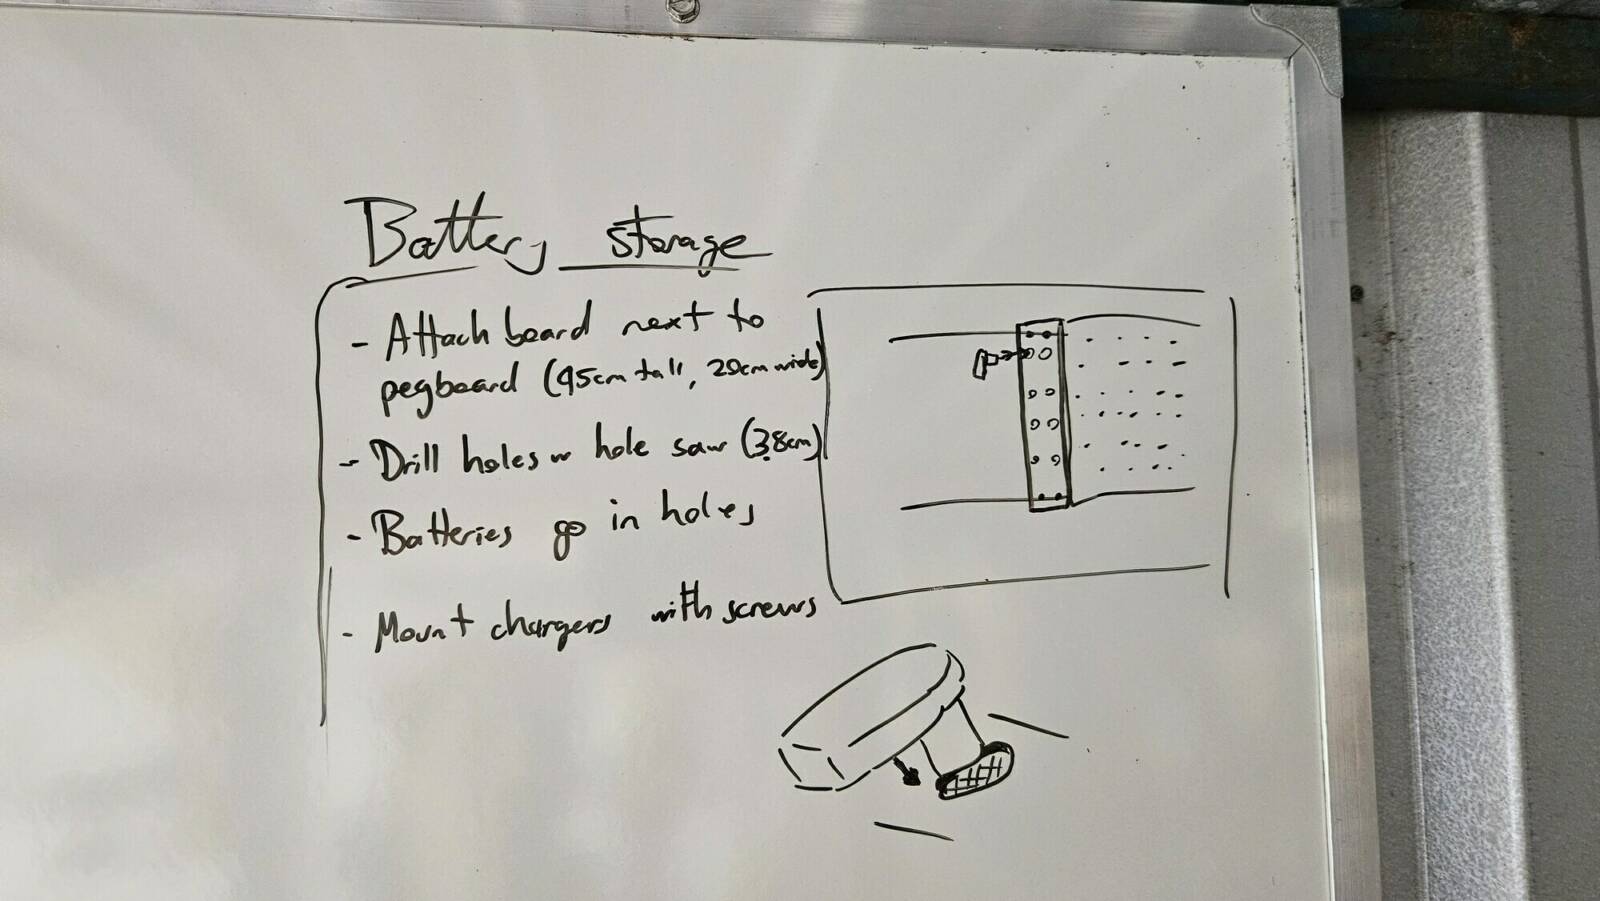
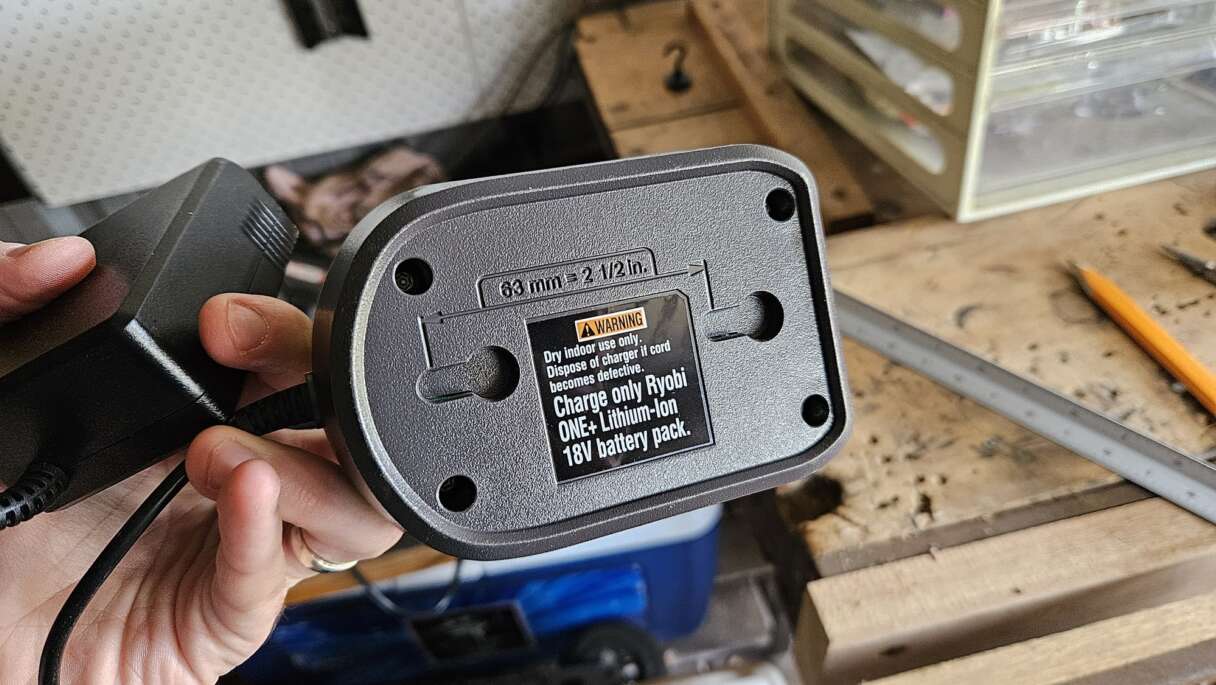
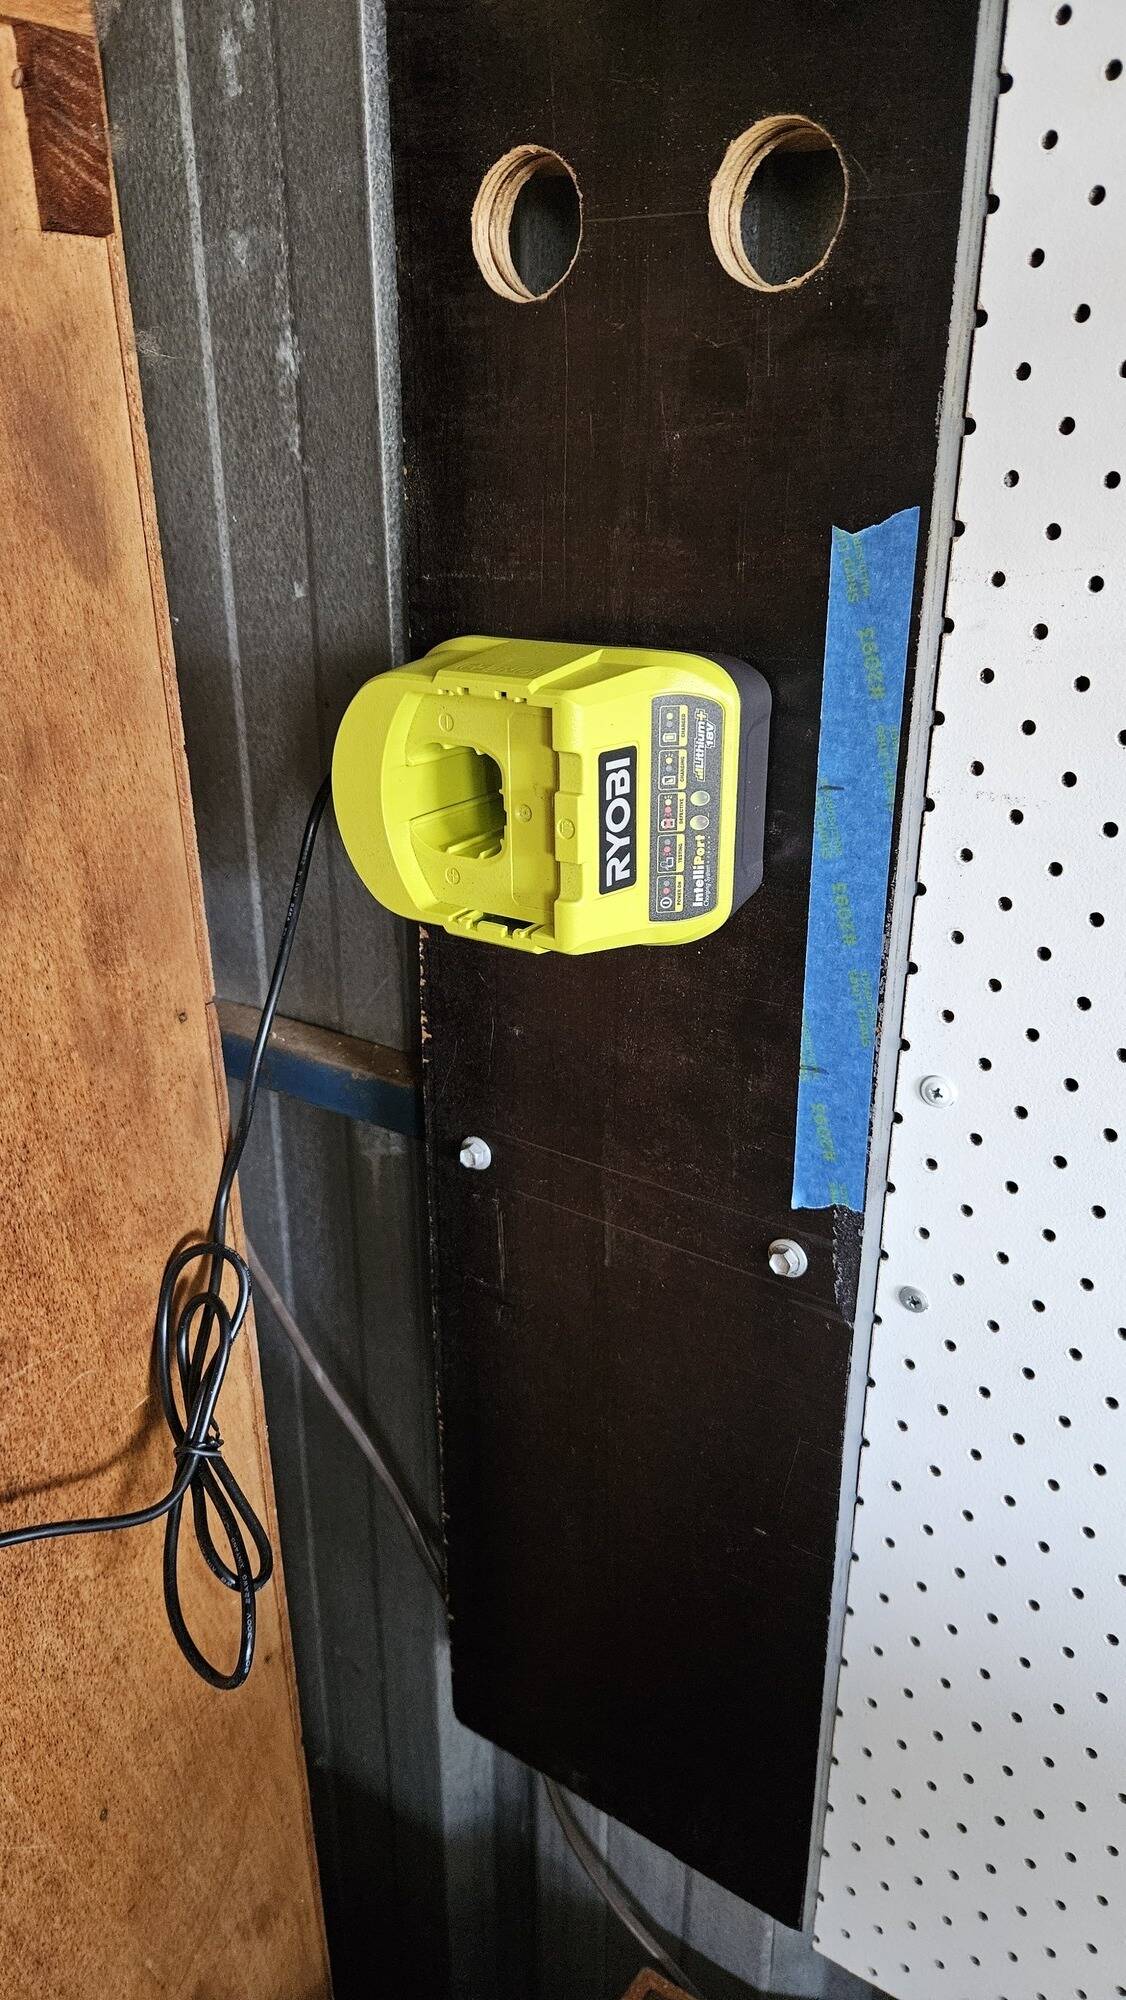
After months of them sitting on my bench and weighing on my mind I decided to concede and just buy one of Ryobi's LINK battery holders—it would probably work well with the pegboards I'd just put up anyway.

Then right as I'm going to buy it, I realised: the batteries have stalks.

A Ryobi battery sitting on my workbench, showing its shape - it has a solid, rectangular base with a cylindrical stalk protruding upwards from the rear.
Opportunity spotted

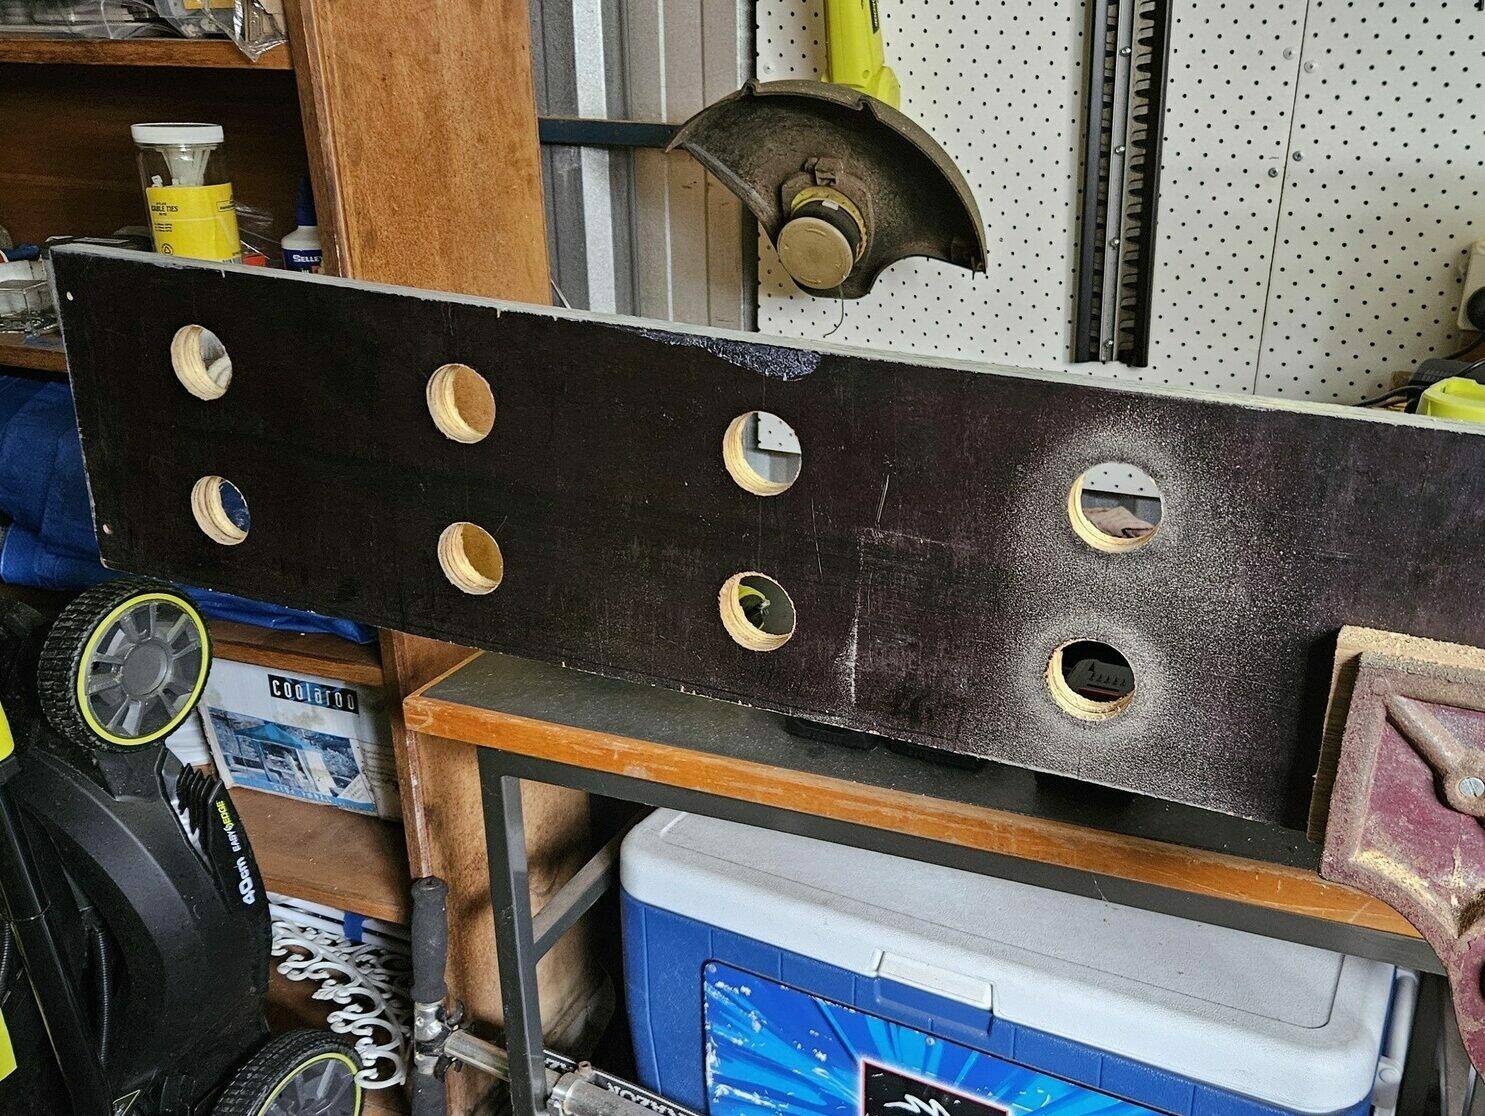
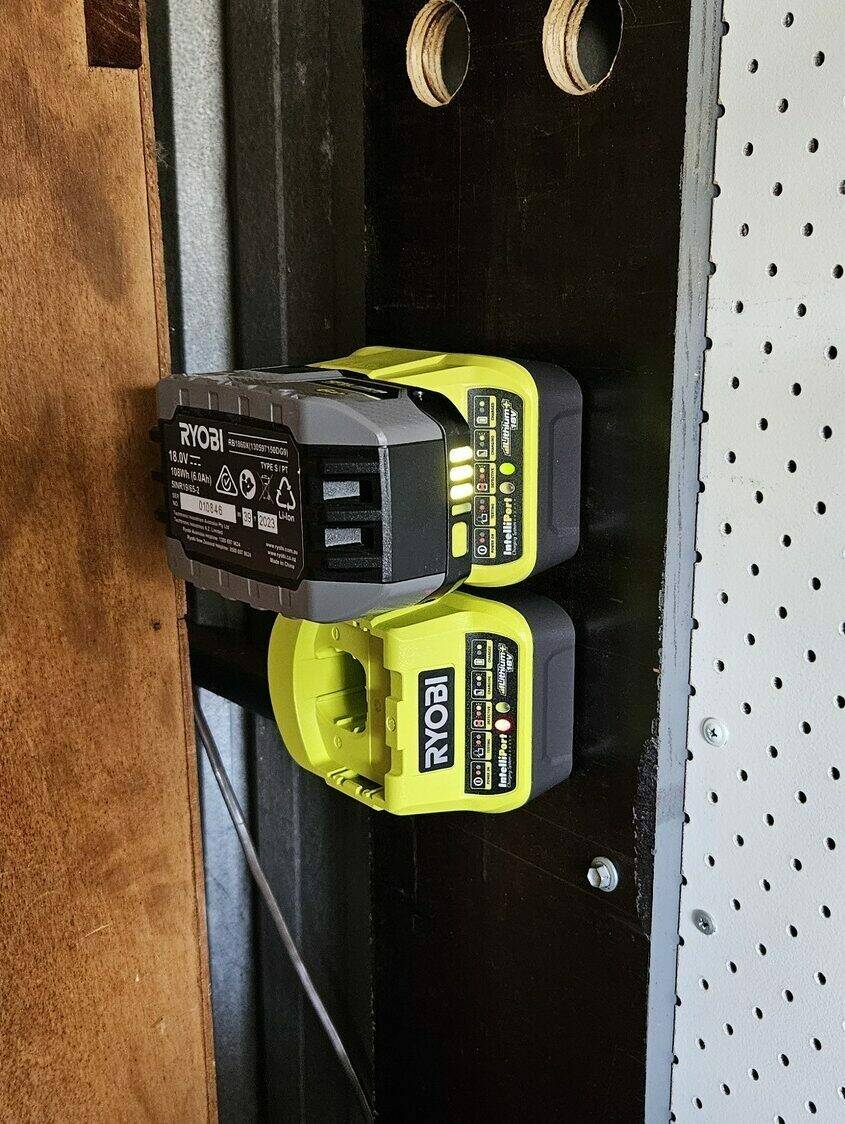
Ryobi's battery holder is basically just a set of holes for these stalks to slot into. 

Which means I can DIY this >:~)


Plotting and scheming

After my realisation the idea came together pretty quickly, so here's my plan:

  1. Find a piece of wood
  2. Put some holes in it
  3. Attach the wood to the wall
  4. Chuck the chargers on
  5. Slot the batteries in
My plan written out on a white board with a couple of drawings. The notes read: 'Attach board next to pegboard, drill holes with hole saw, batteries go in holes, mount chargers with screws'. One drawing is of the board on the wall with holes, one is a close up of a battery slotting into a hole.
My cunning plan

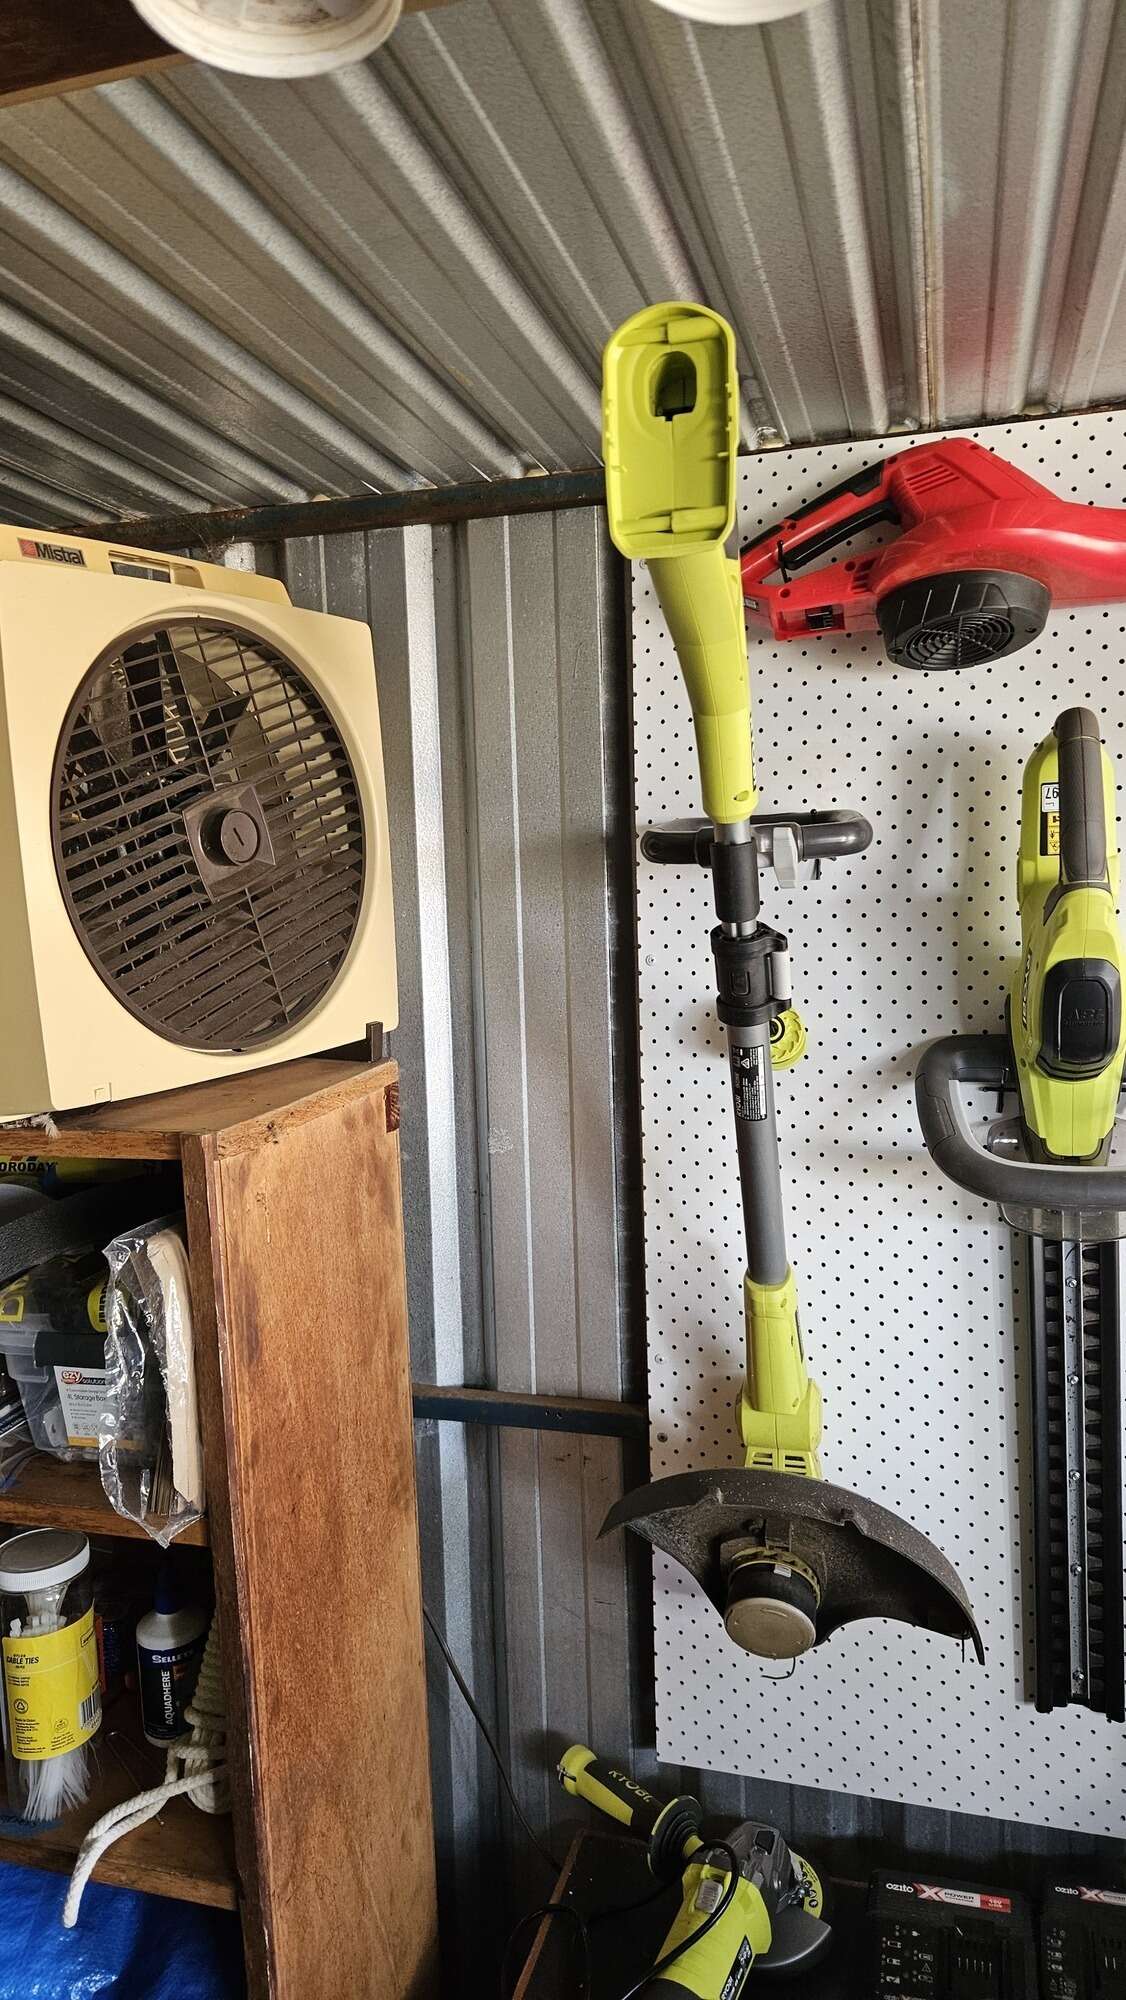
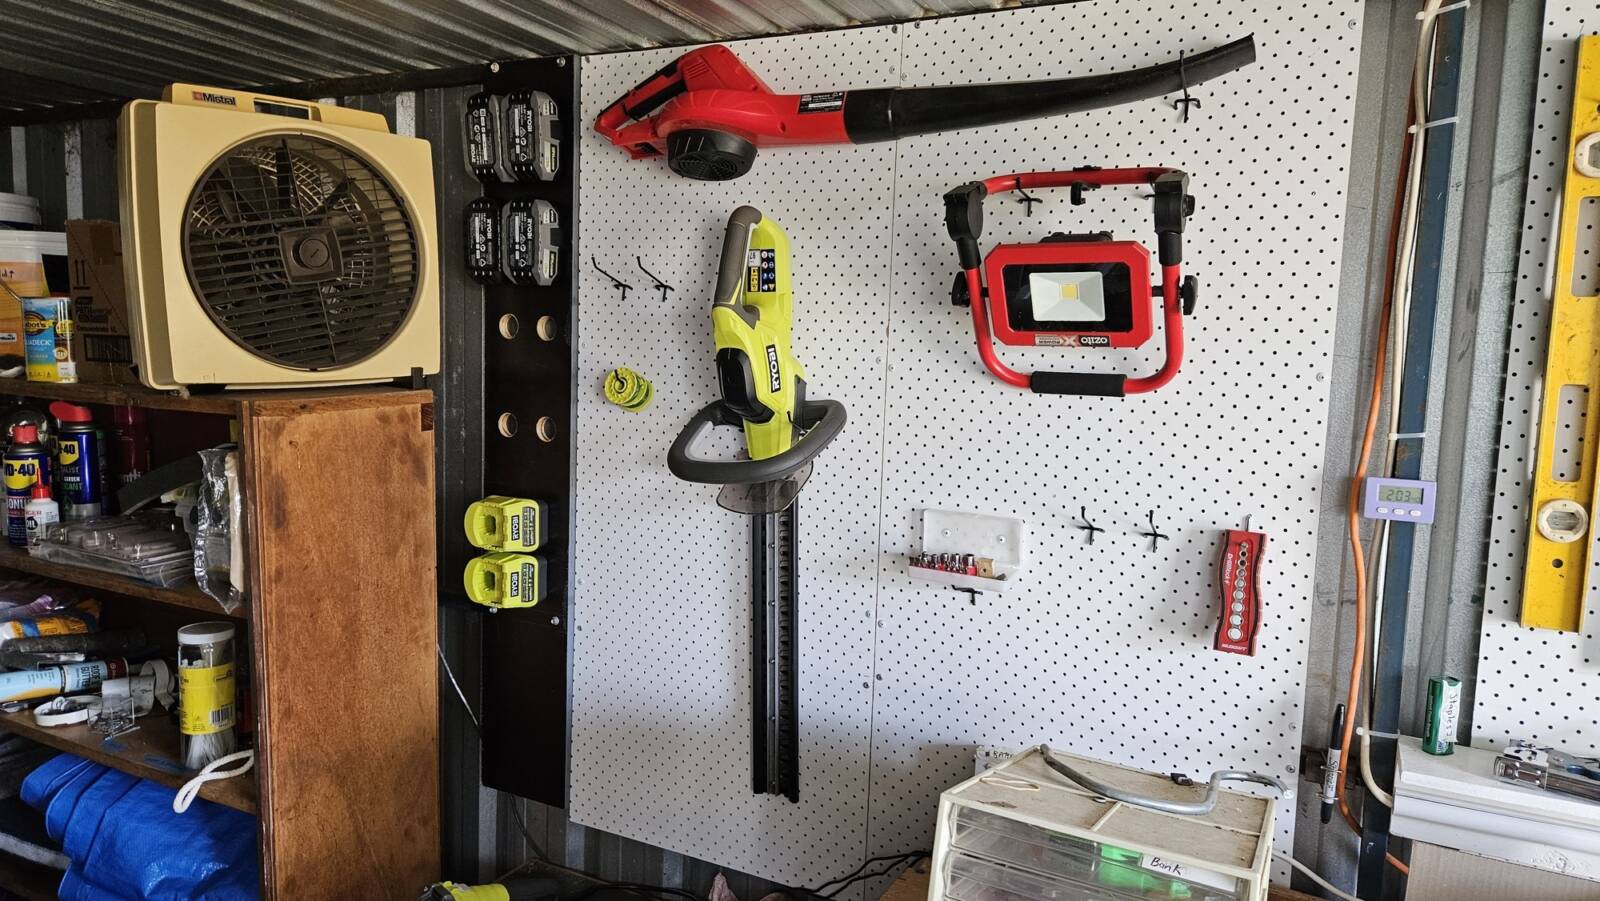
I love how convenient and space-efficient my pegboards are, so I knew mounting it on the wall would work great.

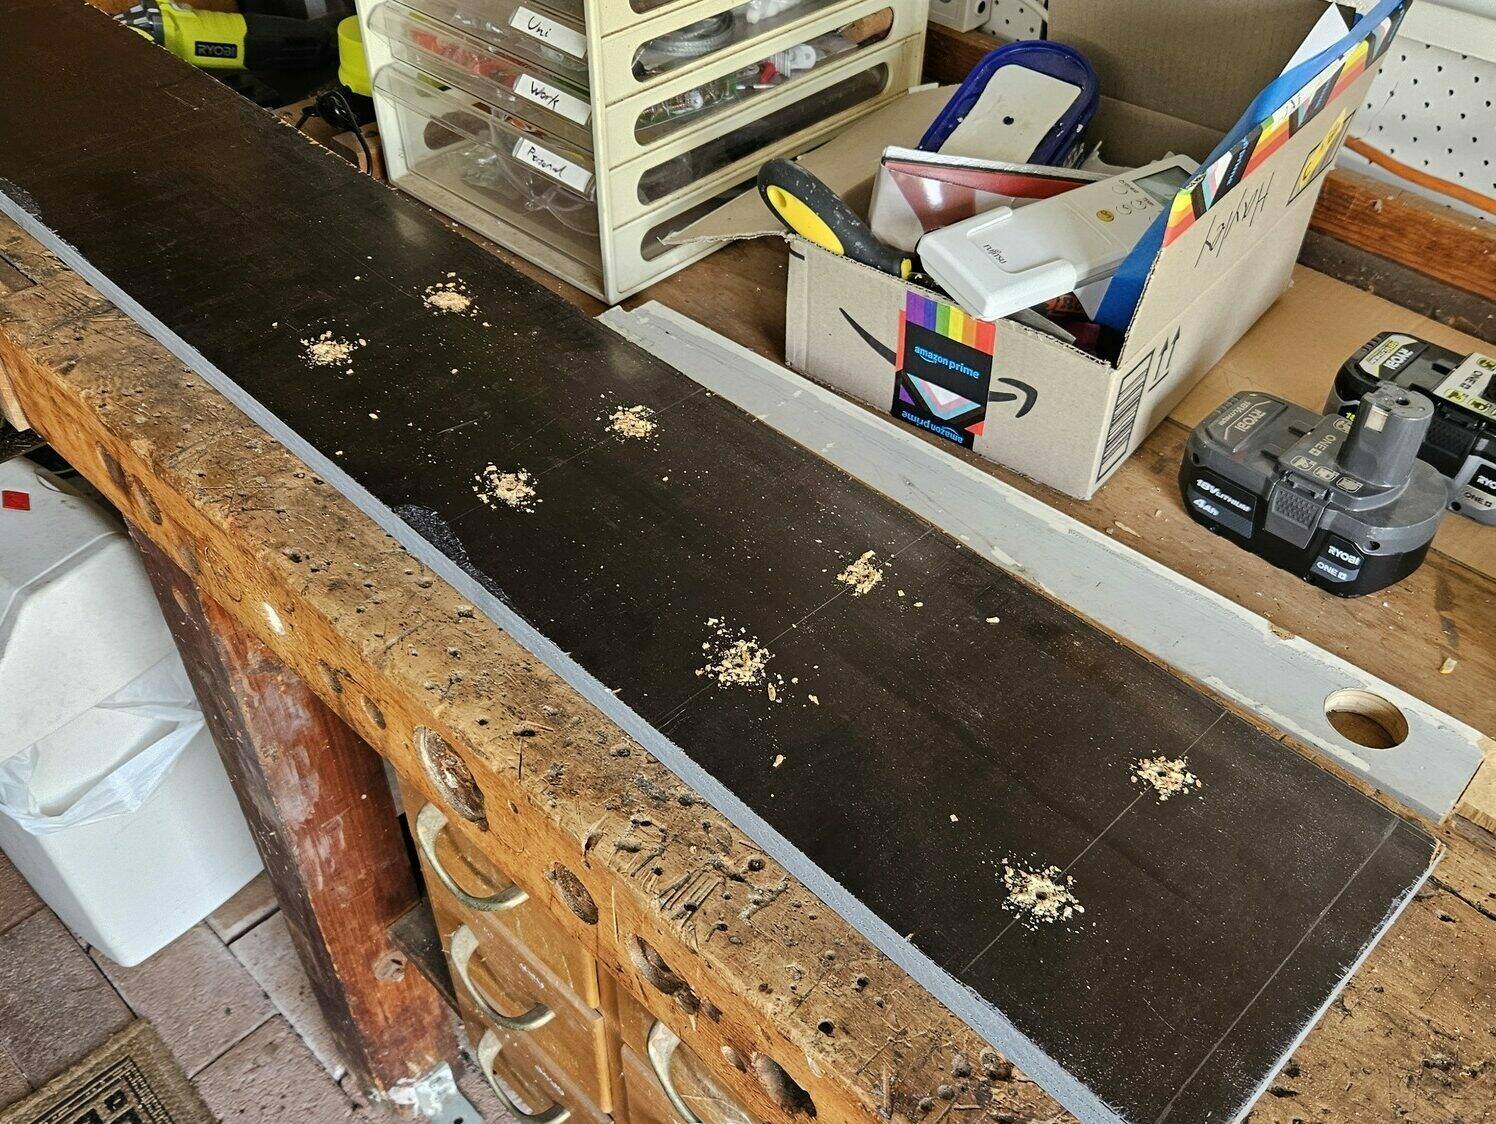
There was a nice gap I could use next to my pegboards (which is also where my power tools live), and an old shelf I had lying around ended up being the perfect size.

The wall of my shed, showing a nice gap between a shelf and pegboards.
My hand holding up a long piece of wood onto my shed wall
Perfect fit

Test hole please ignore

Making sure my idea will actually work

I found a hole saw that looked like a close fit - the battery's stalk needed to fit through, but be a tight enough fit to stay in place.

My cordless drill with a hole saw attached.
Hole saw? Go see a doctor!!!!

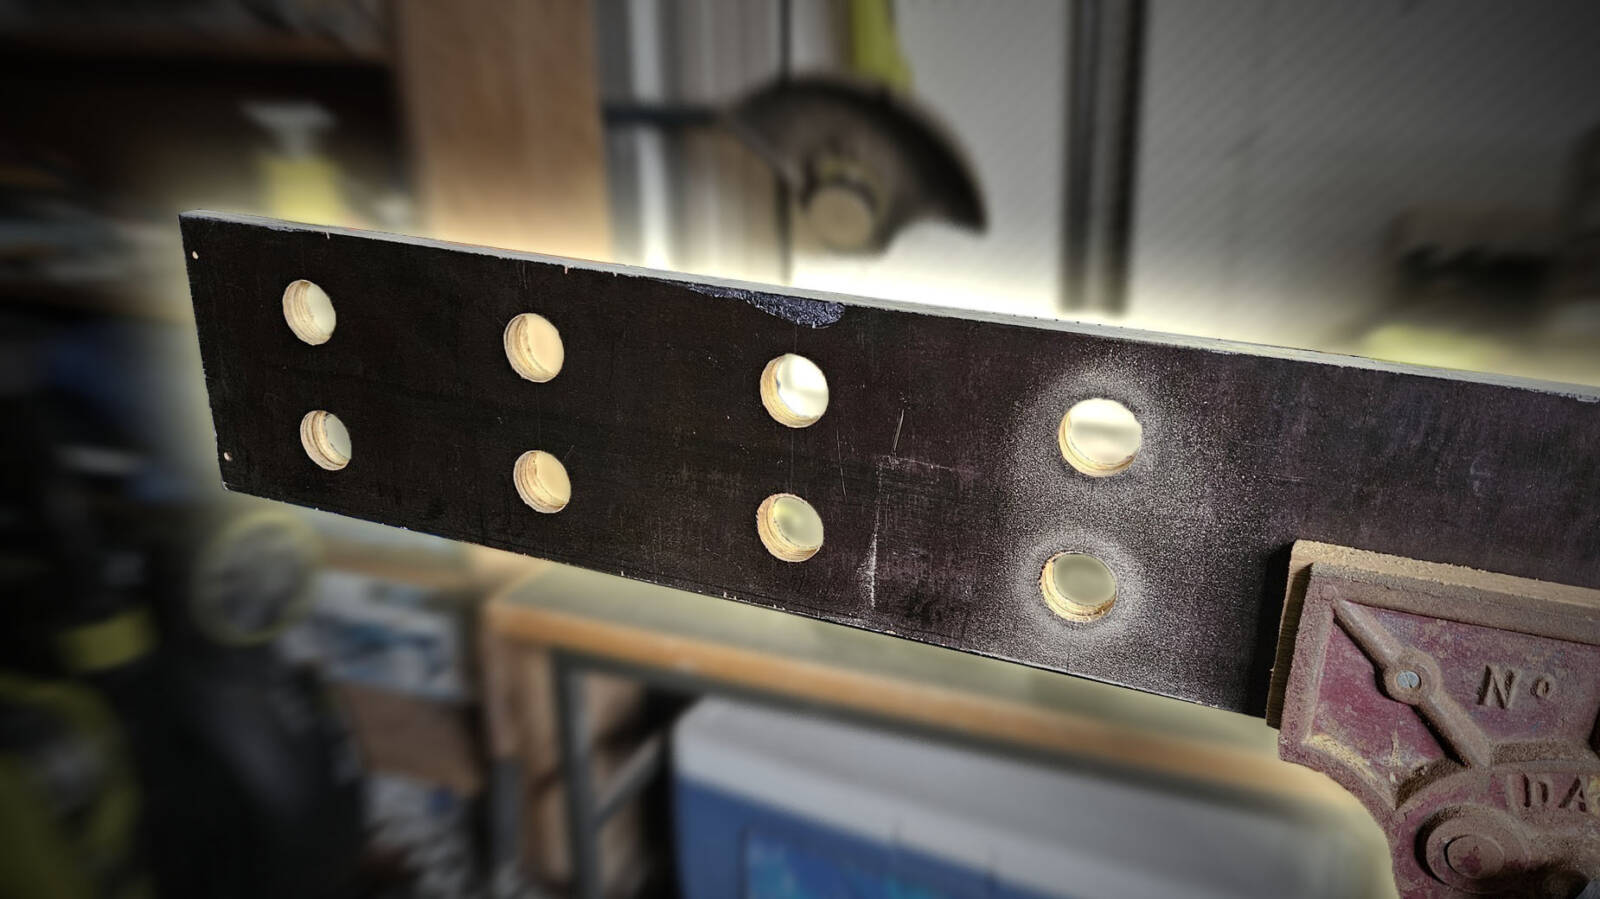
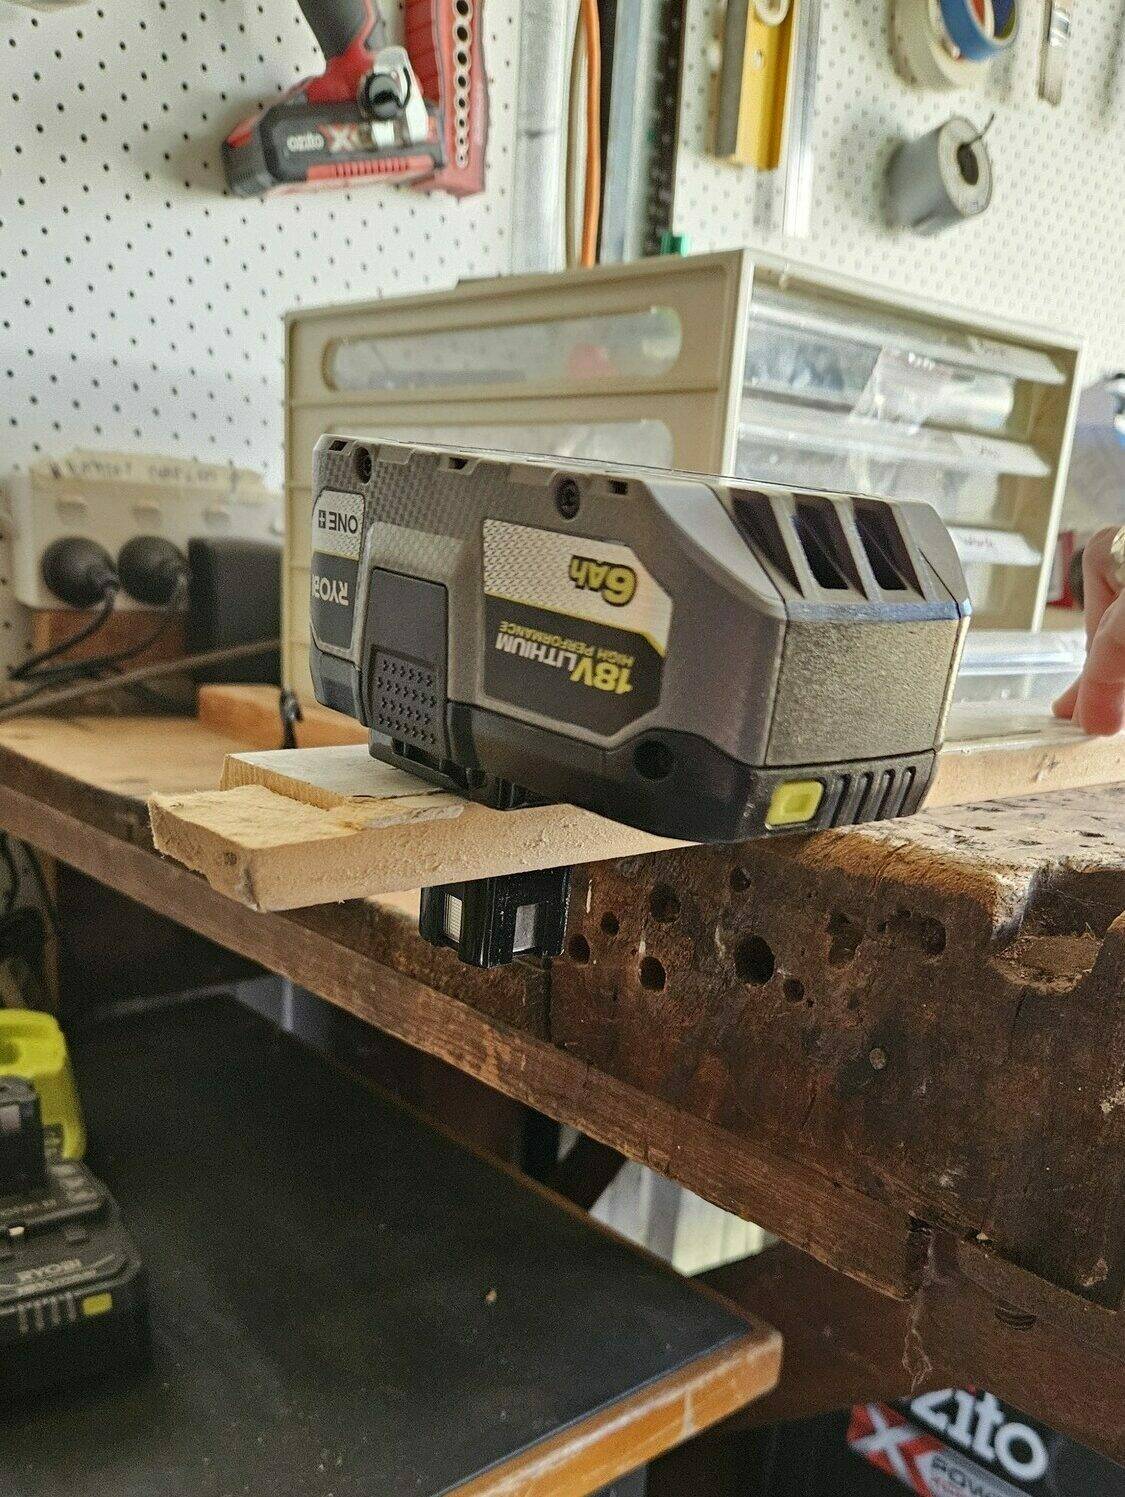
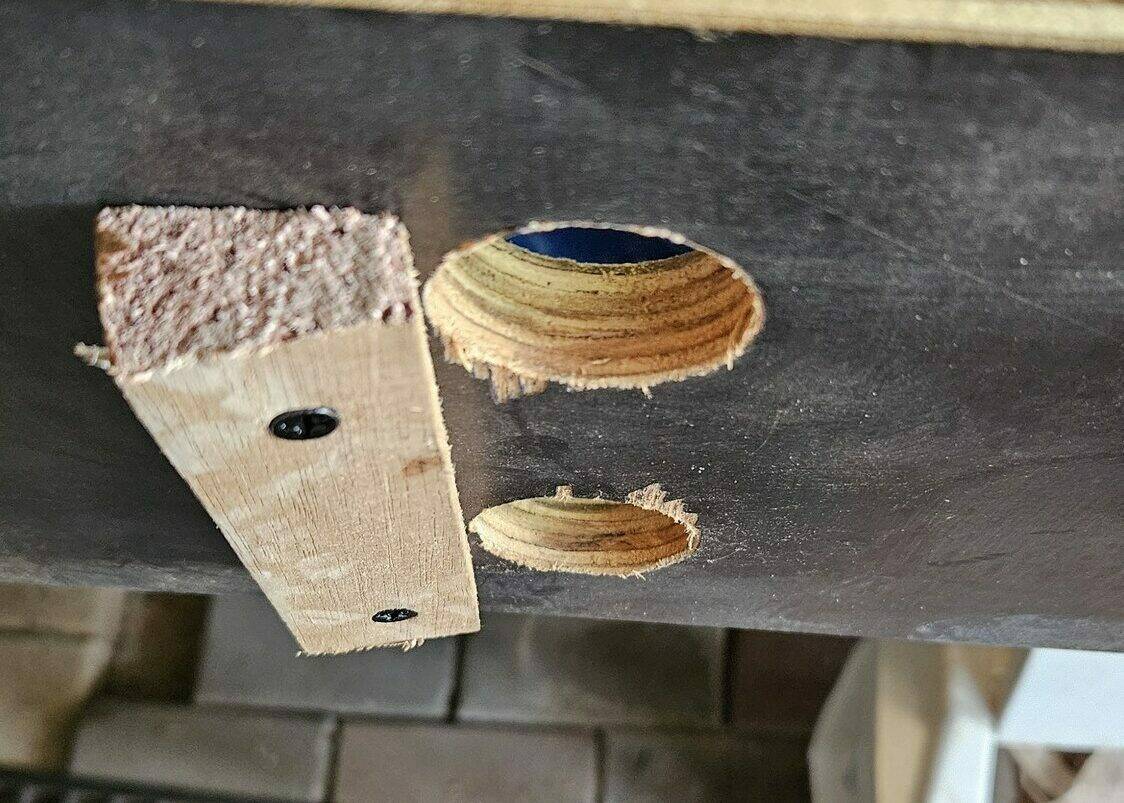
I did a test run on some scrap wood and it worked well, though it droops down a little when vertical so I'll add some support on the back.

A scrap piece of wood with a hole drilled out of it.
A Ryobi battery slotted into a scrap piece of wood, which has had a hole drilled out of it.
The battery goes in the battery hole

Measuring, marking, & pre-drilling

I first worked out how to best arrange the batteries and chargers, fitting as many as I could but allowing enough room between them for grabbing.

4 Ryobi batteries arranged on a piece of rectangular wood in a 2x2 grid. The batteries fit nicely on the short side, and more can fit on the long side.
4 Ryobi batteries and a charger arranged on a rectangular piece of wood. The batteries are in one line, showing I can fit a grid of 2x4 batteries. The charger is below the batteries.

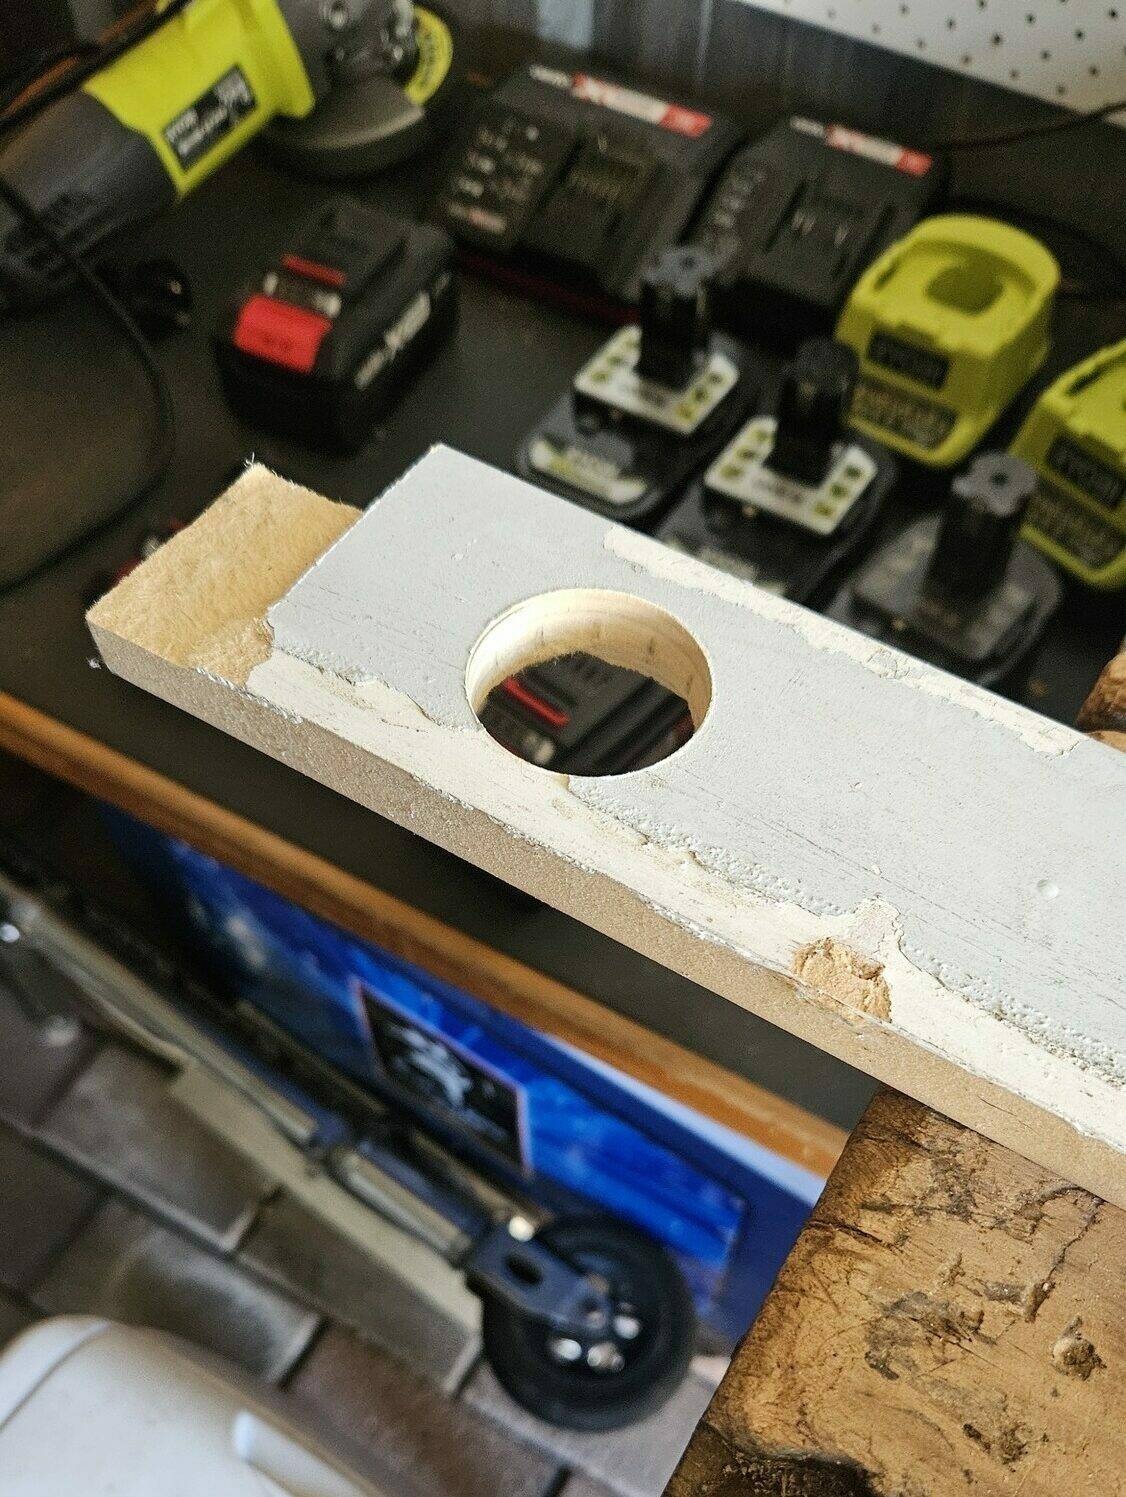
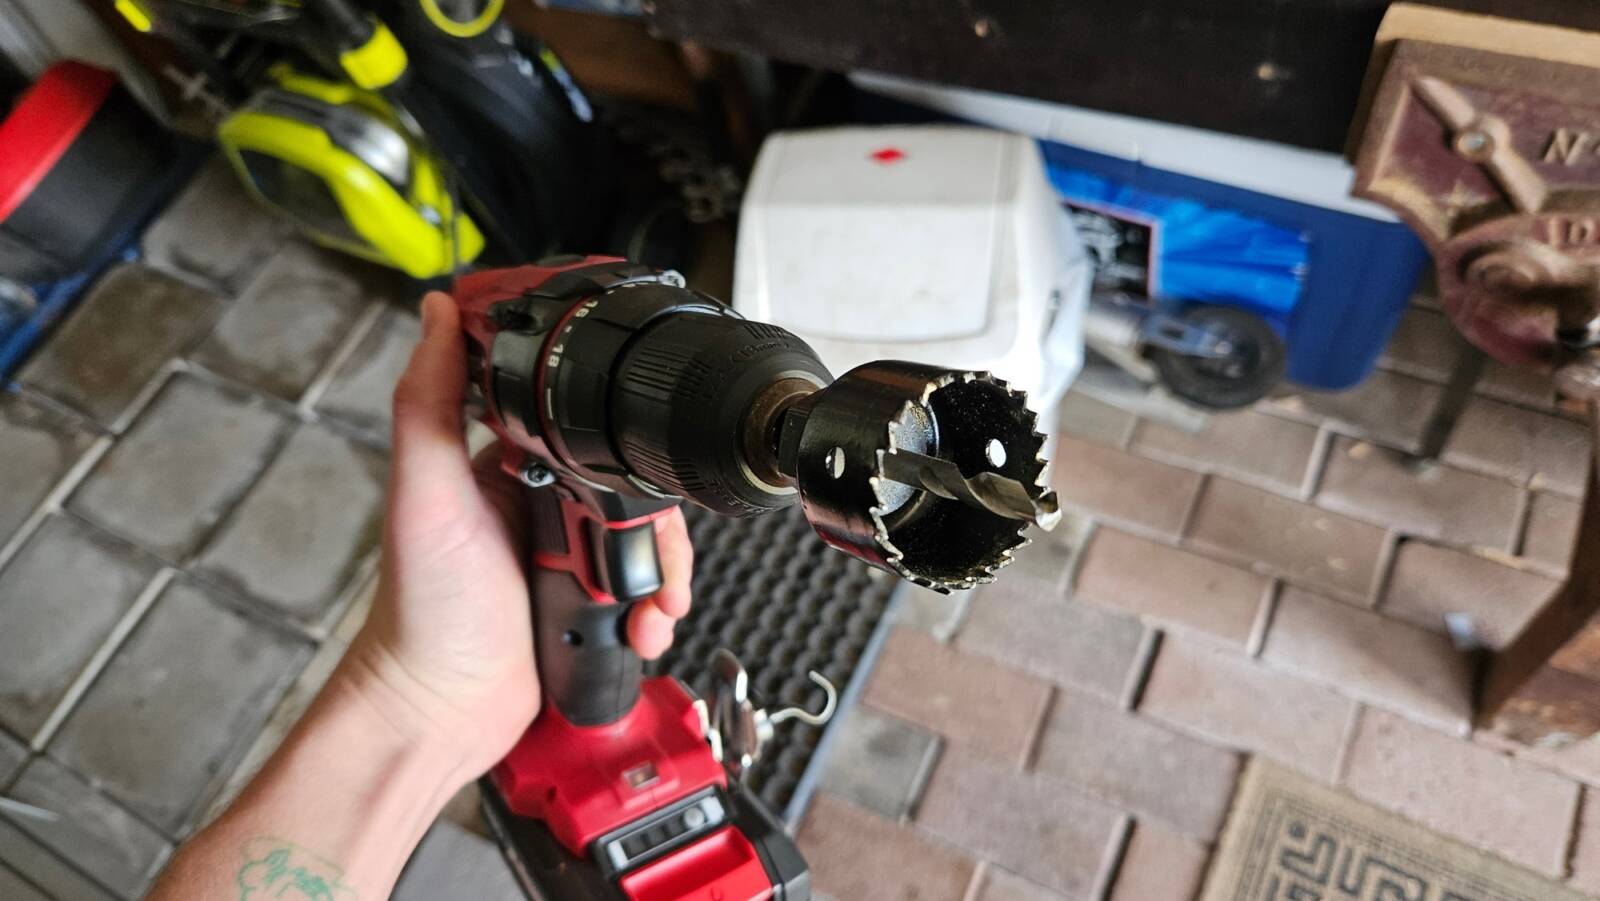
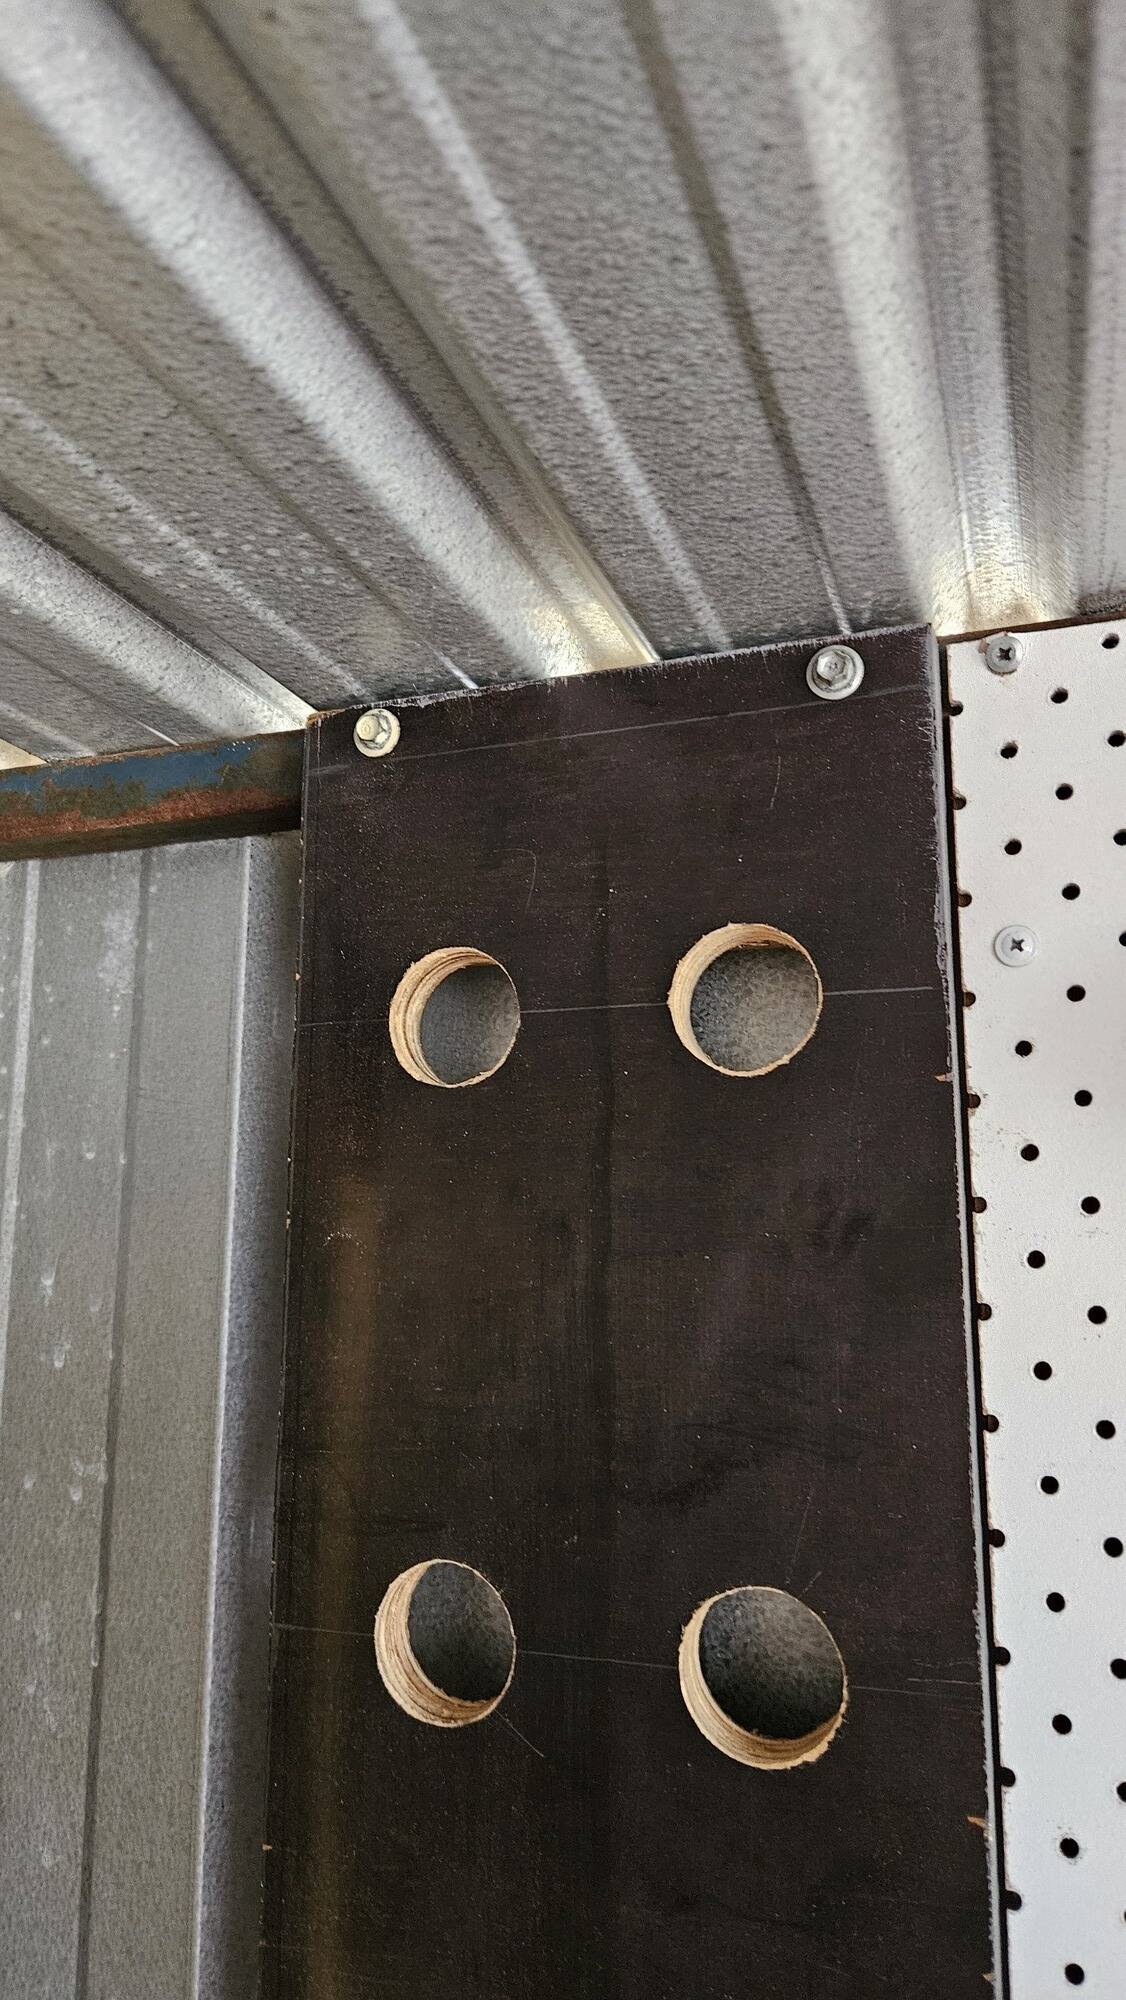
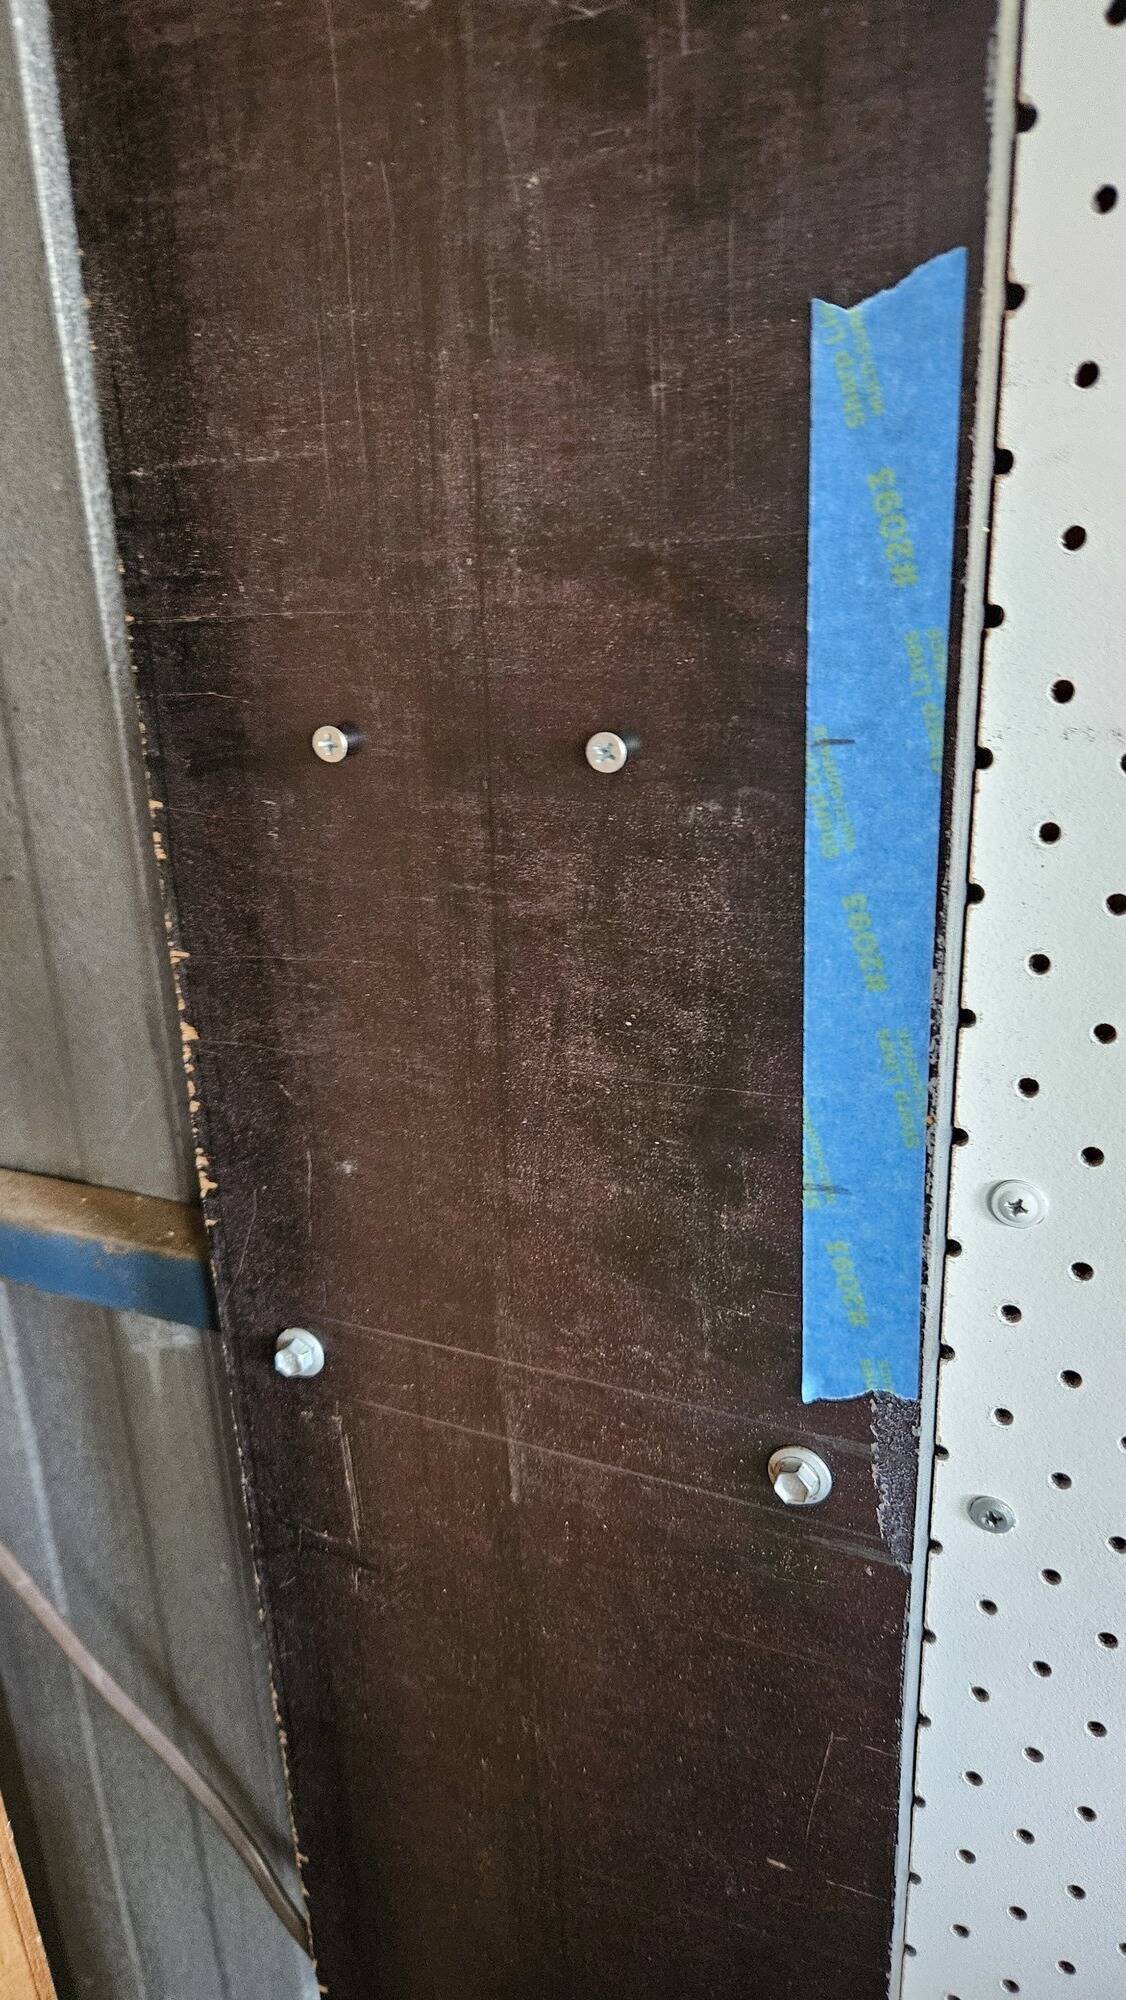
After marking these spots, I pre-drilled to make it easier with the hole saw.

Drilling a hole into a piece of wood, using a Drillblock tool to keep the drill bit straight.
The wooden board with a grid of holes drilled in an even 2 by 4 grid.

It's hole time

I got to work on making the holes, but quickly found my poor little cordless drill struggled to cut through the thicc board.

I brought out the big guns (my beefy plug-in hammer drill (not on hammer mode)) and it ripped through the rest of the holes very nicely. 💪

My big hitachi plug-in hammer drill with a hole saw attached.
The long wooden board being held in a vice. It has 8 holes drilled in an even 2x4 grid.
The Big drill and its handiwork

Adding supports

With the holes drilled out, I could then add my little supports on the back to stop the batteries drooping forward.

I just cut up lengths of scrap wood and screwed them in on the back, just above each set of holes.

The wooden board with short pieves of scrap wood attached on the rear, just next to each row of 2 holes.
A close up of the wooden board and the supporting piece of wood attached next to the holes. The edge of the support piece lines up nicely with the edge of the holes.

Putting it on the wall

Like my pegboards, I mounted it to the metal frame of my shed.

I held the board in position and marked the spots through the holes I'd pre-drilled.

One of the metal beams of my shed with 2 dots marked on it. A marking tool is shown as well, which is the same colour as the dots it made (green).
Spots marked for imminent drilling

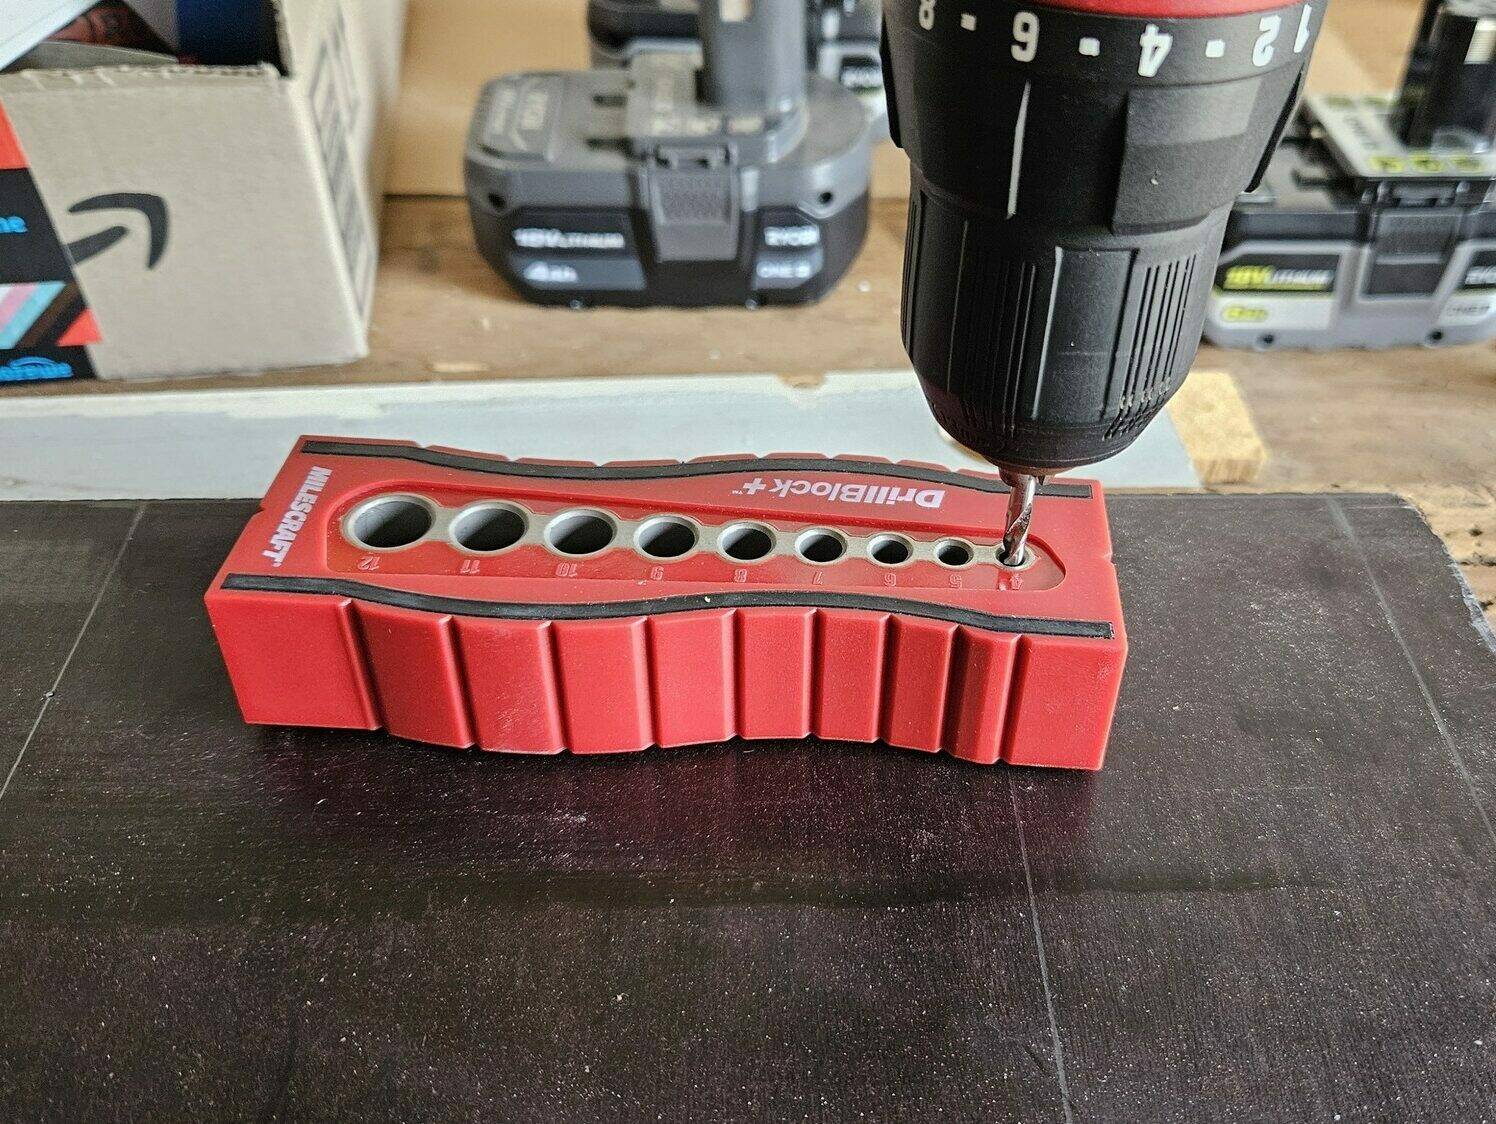
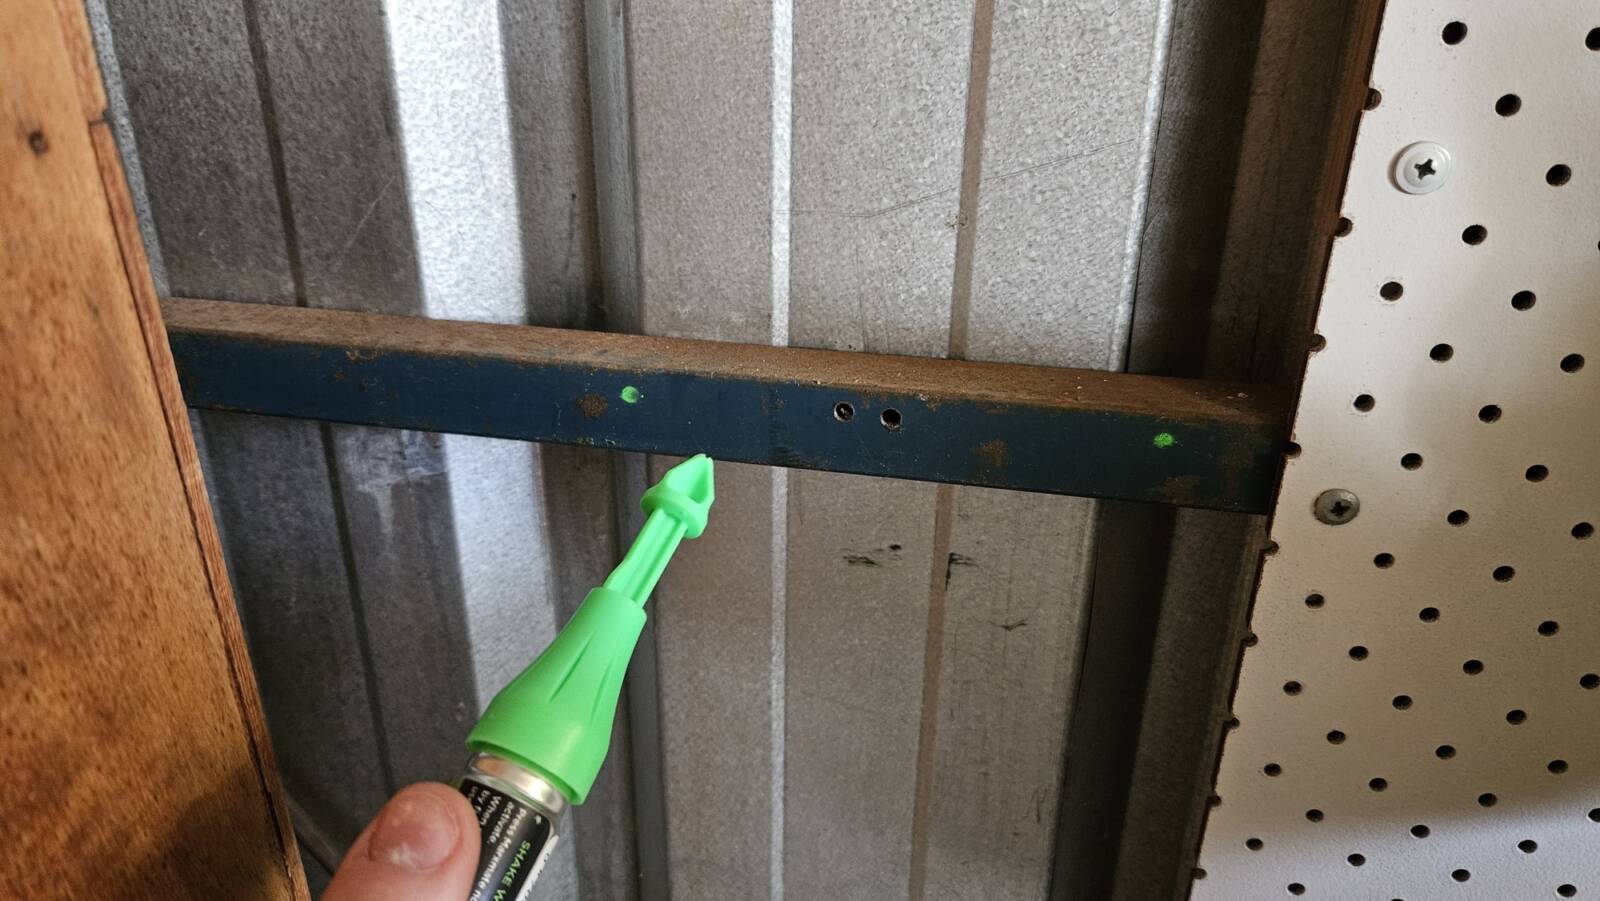
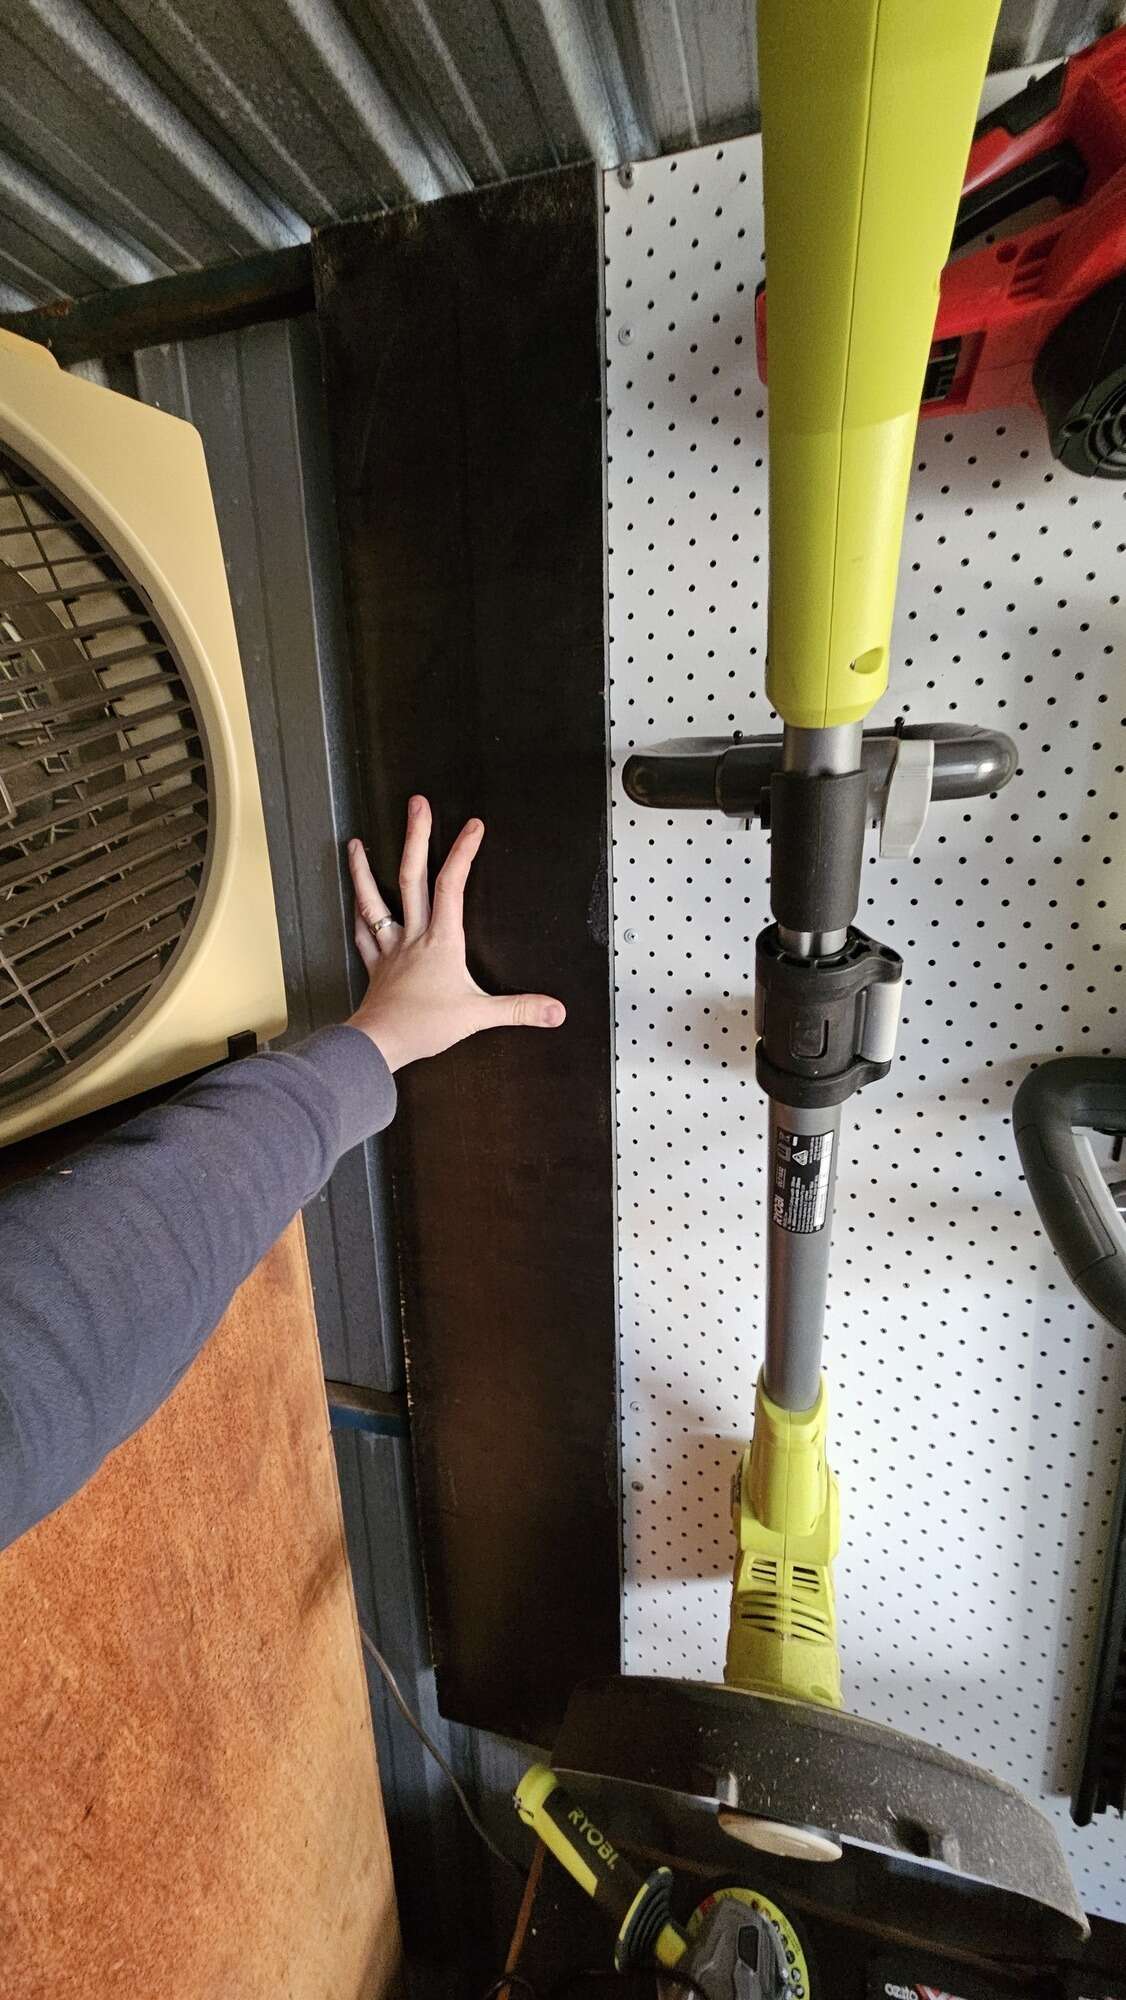
I used self-drilling screws, but the metal of the shed's frame is strong as hell, so I used my drill block to hold it steady for the first little bit.

This was a hard-learned lesson from when I put up my pegboards, so I avoided the sweat and anguish this time round 😀👍

A close up of my holding a self-drilling screw. It has threads most of the way down, but its tip is shaped like a drill bit.
A cordless drill being used to screw in a self-drilling screw, supported with a 'drill block' tool to keep it straight.
First photo: One of the self-drilling screws.
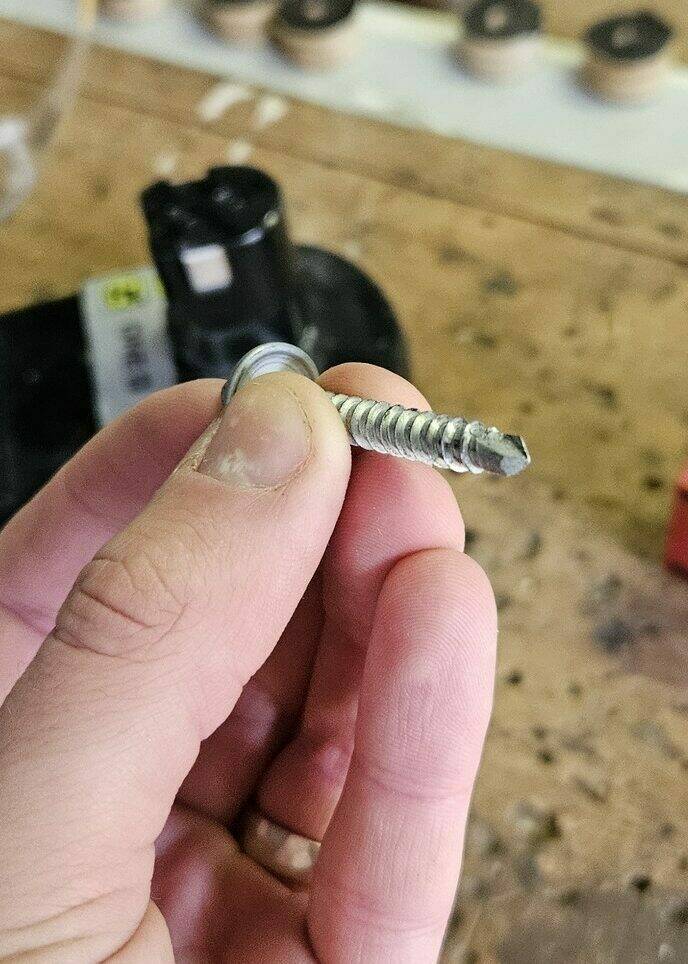
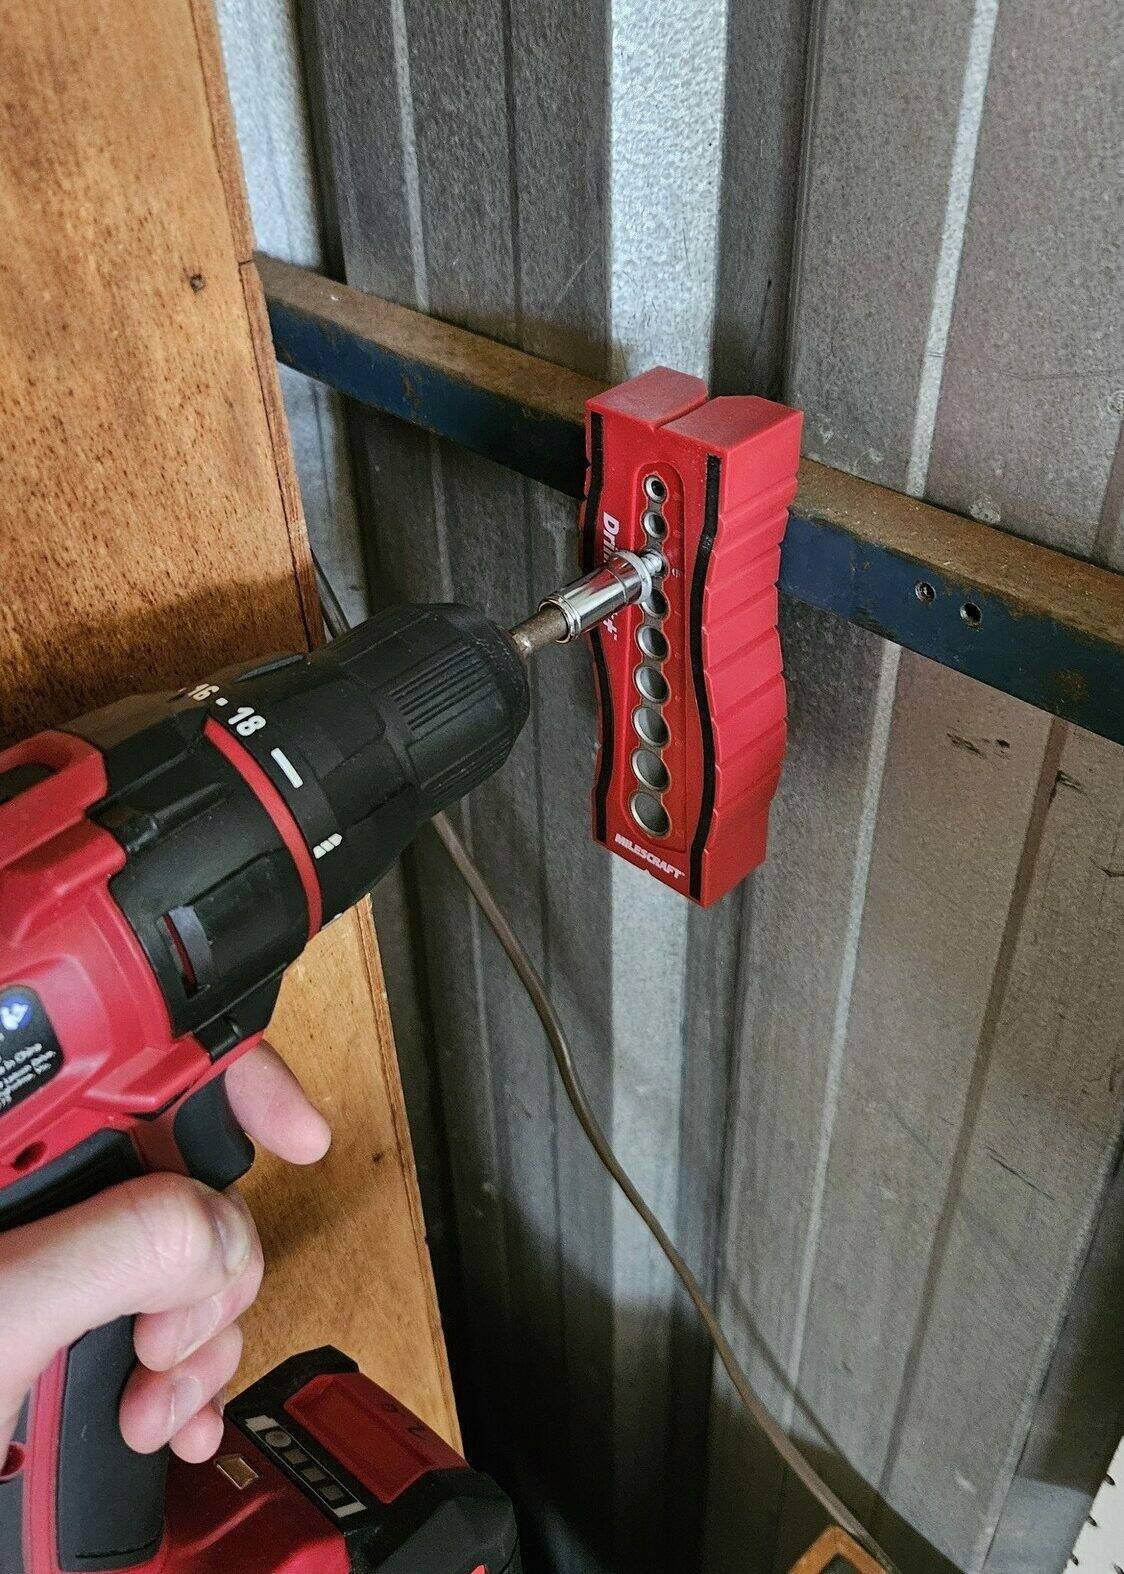
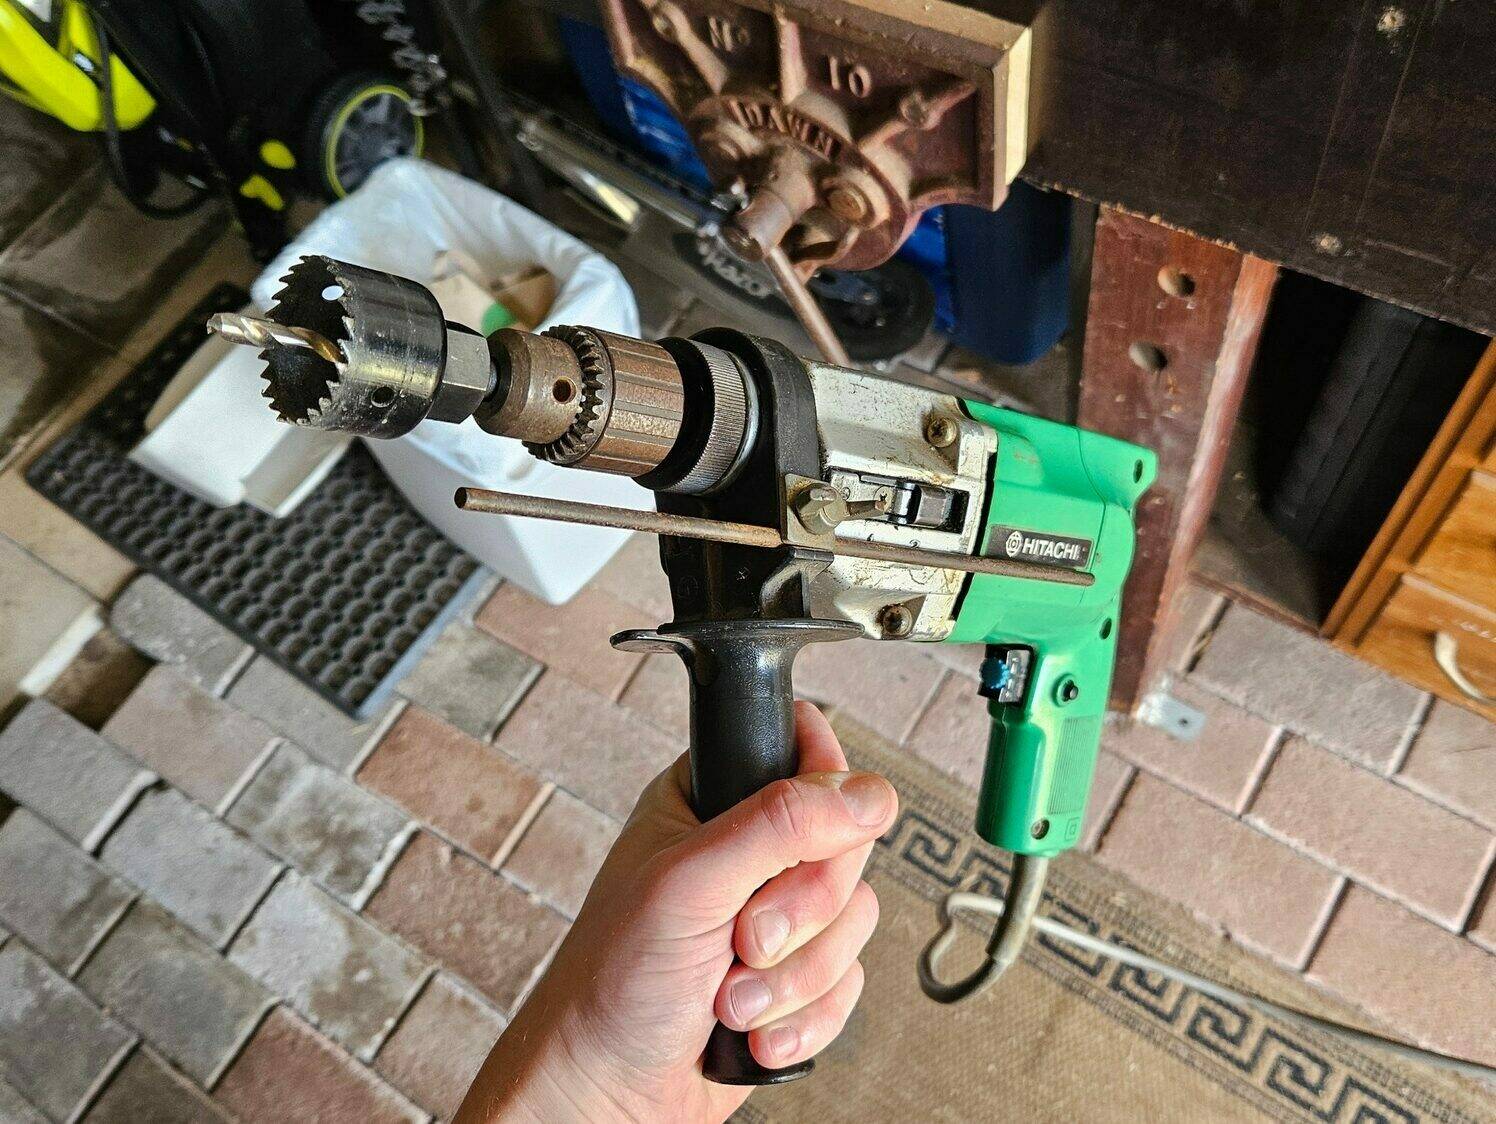
Second photo: me struggling to punch through the metal beam.
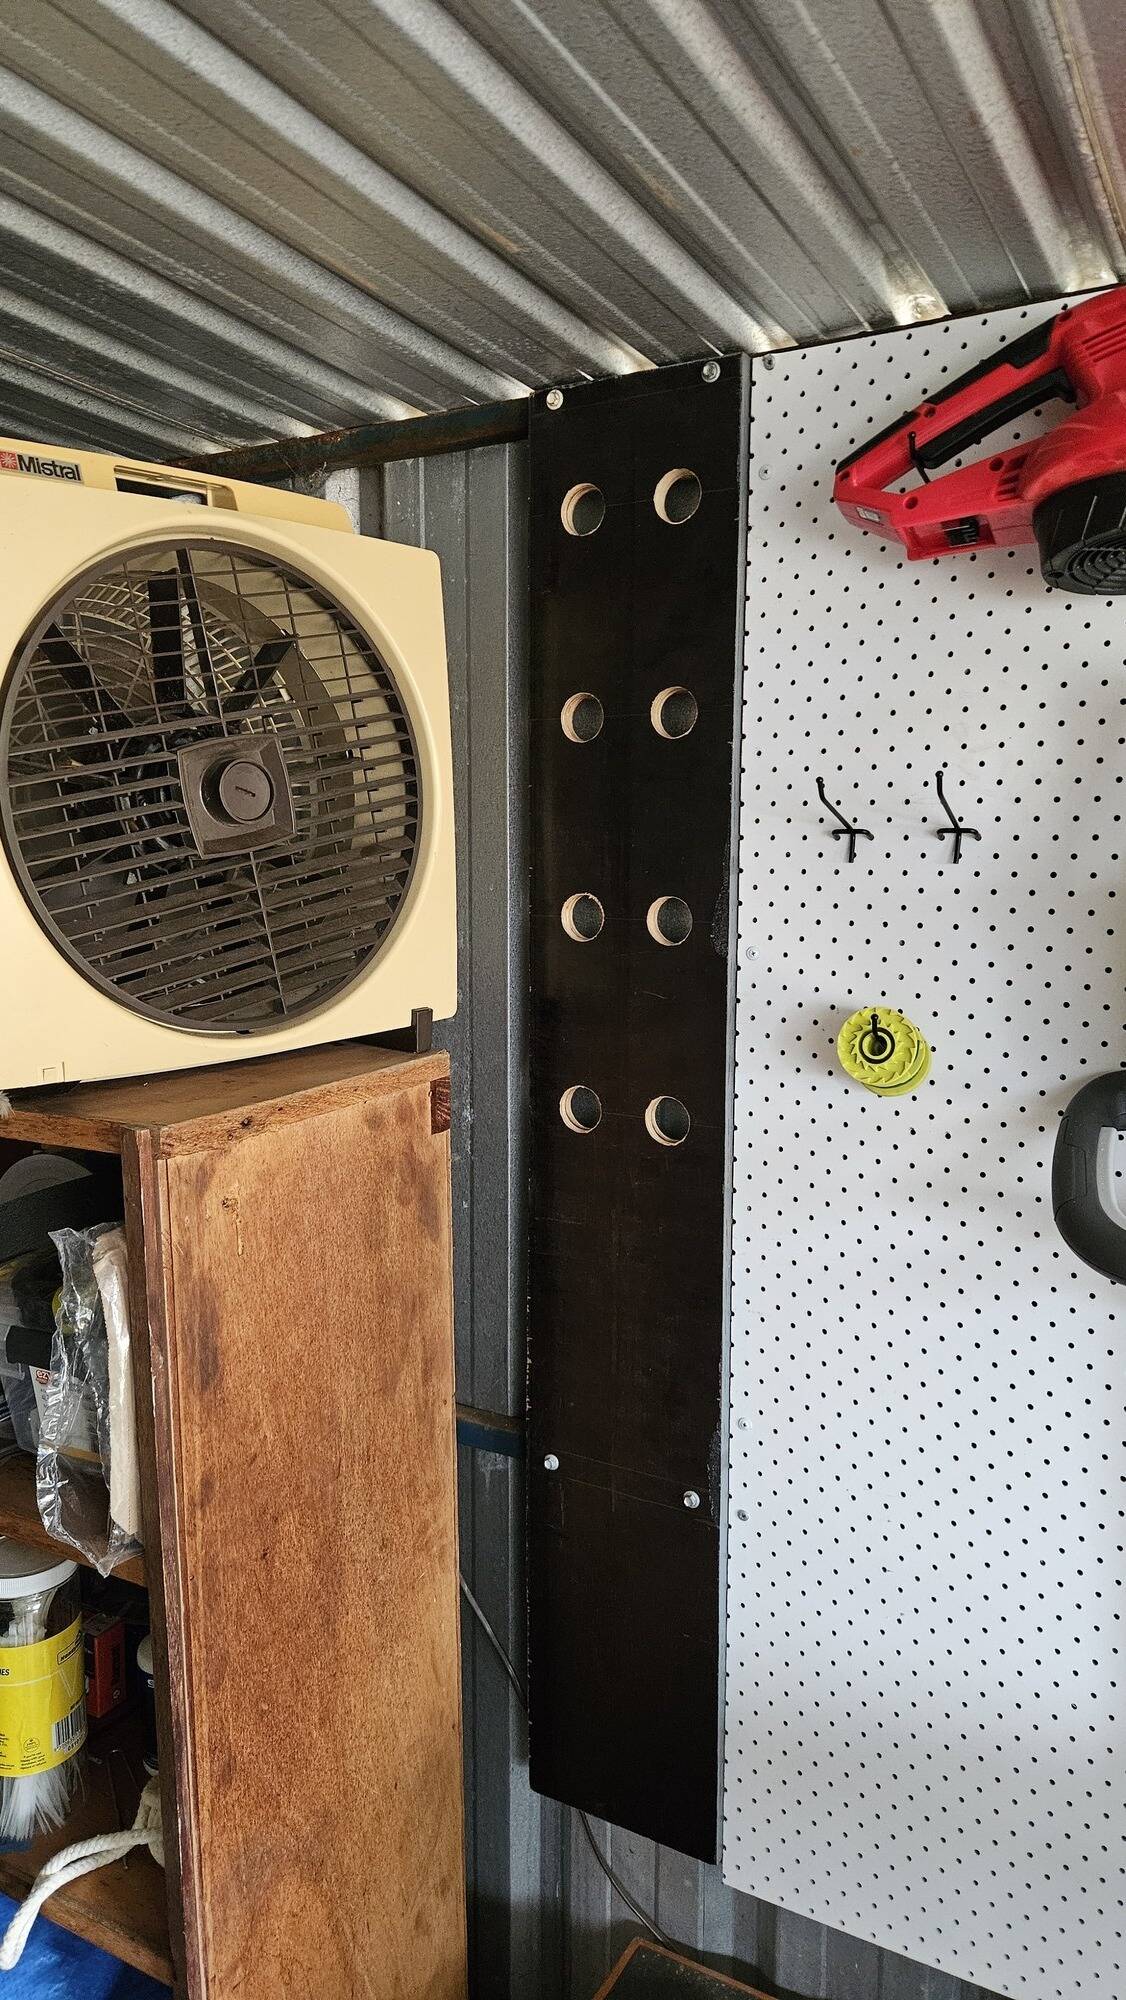
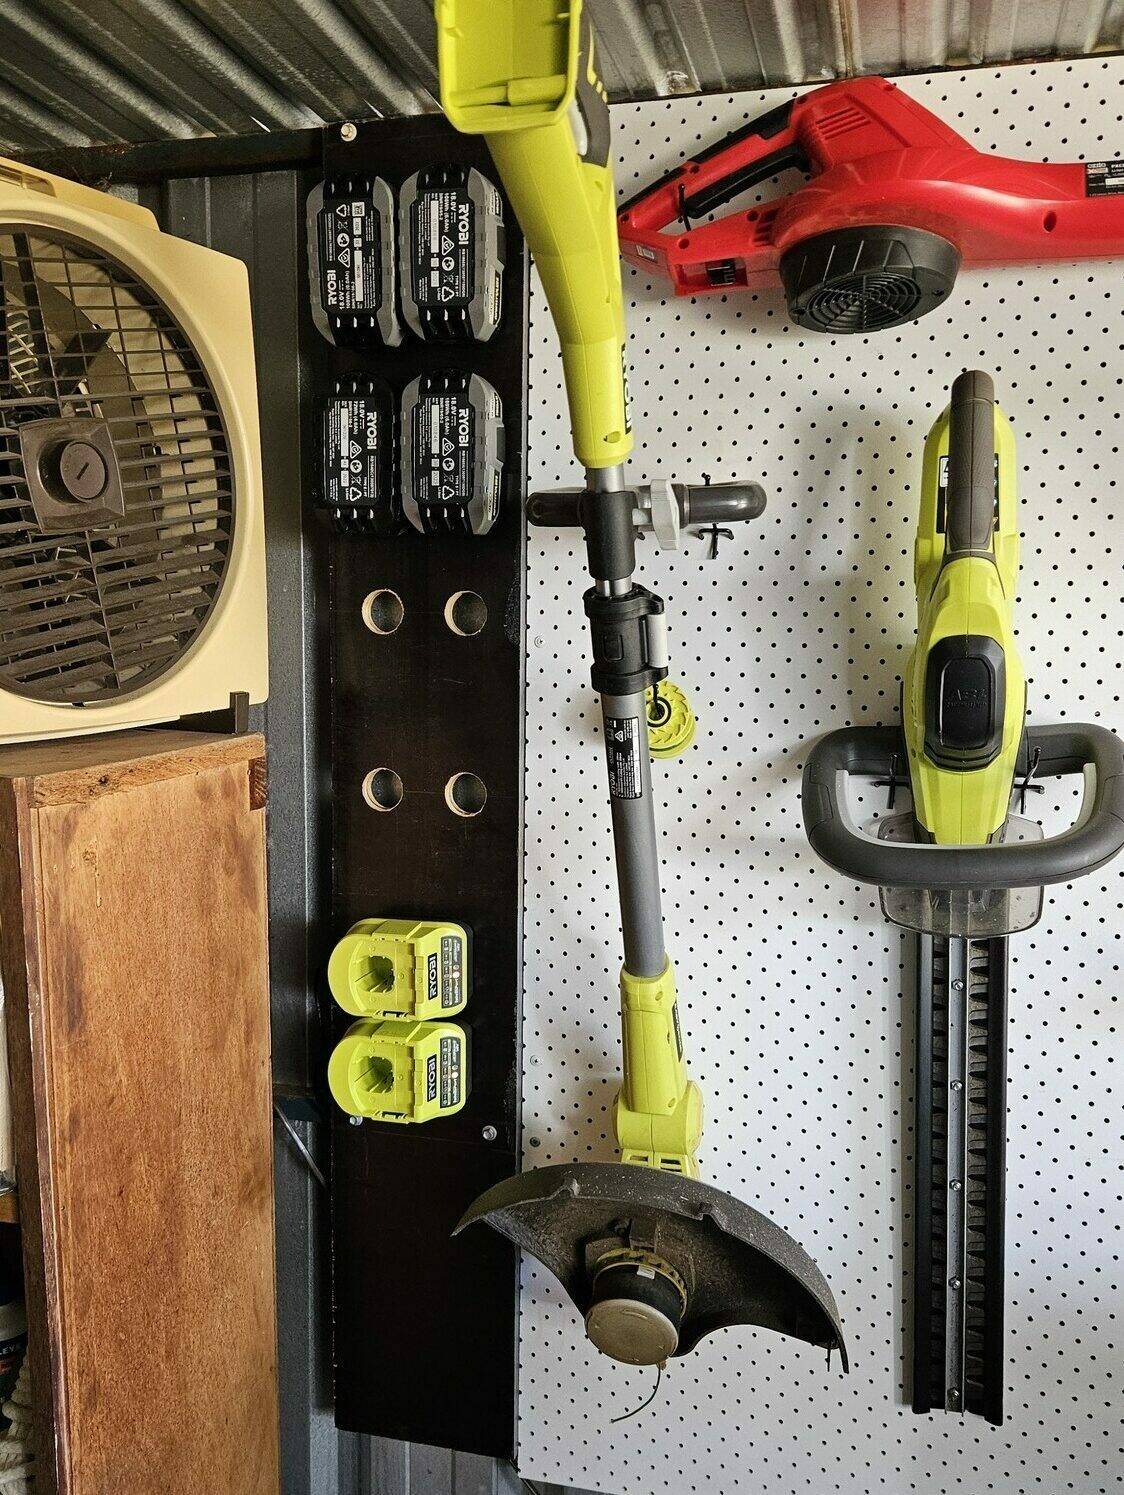
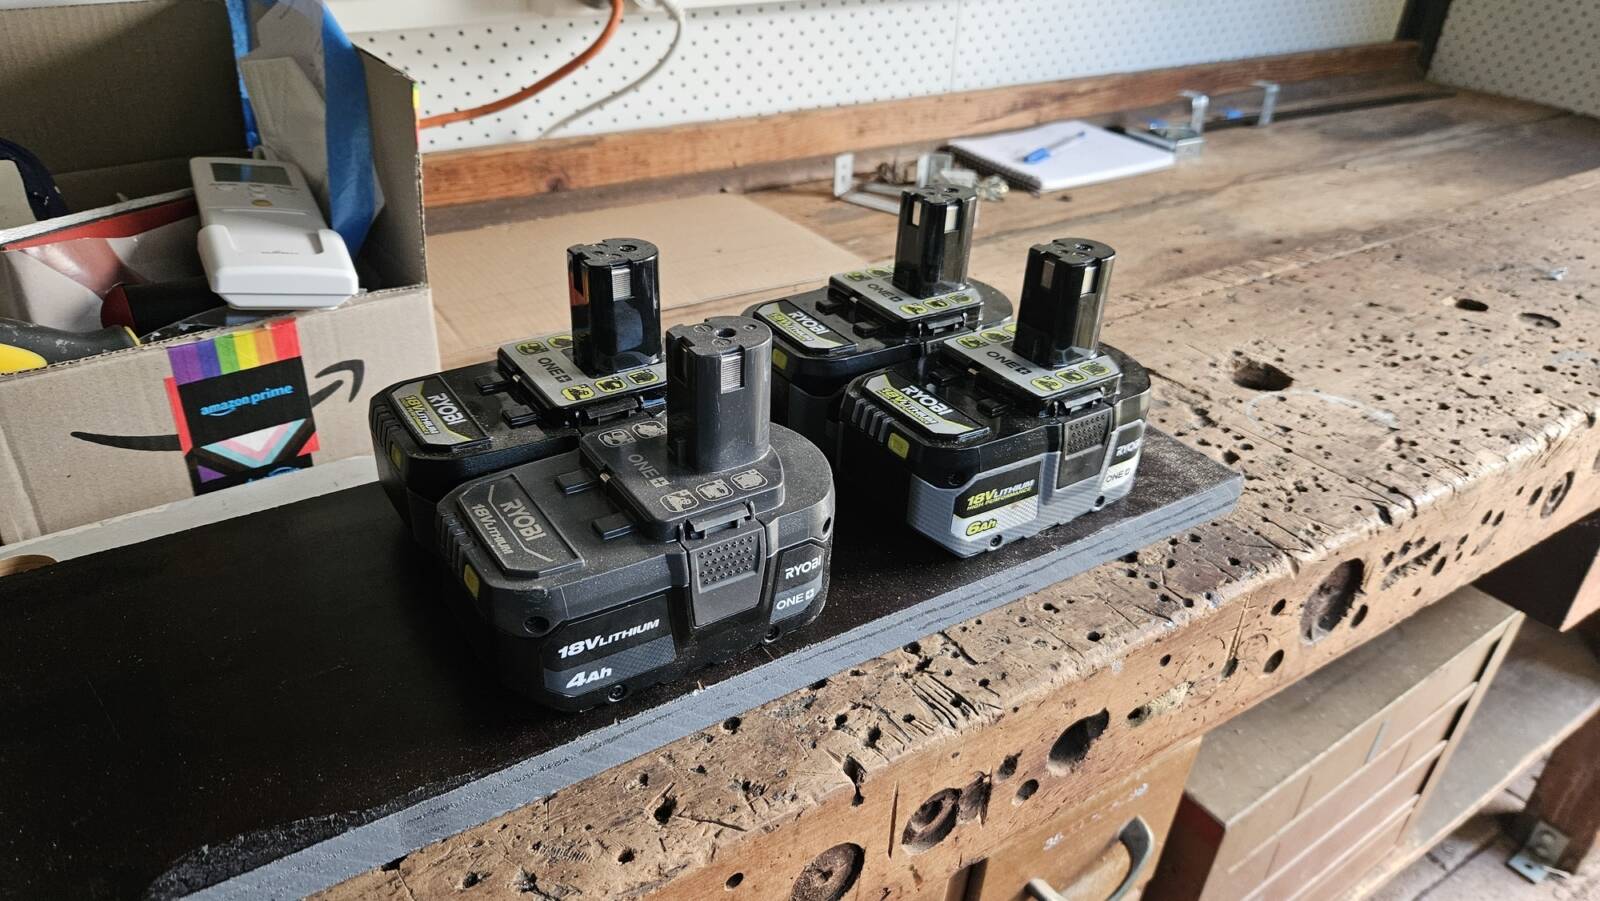
The top of the wooden board, now mounted to the shed wall. Two screw heads are at the top in line with the top metal frame.
The whole wooden board, now mounted to the shed wall. It sits between a shelf on one side and flush with a pegboard on the other side.
That's not goin' anywhere

Mounting the chargers

Ryobi provide handy mounting holes on the back of their chargers, so it was just a matter of putting some screws in the right place and slipping them on.

The underside of a Ryobi battery charger with convenient mounting holes
The wooden board with two screws placed horizontally in the middle. Tape is on the side with markings which line up with the screws.
A battery charger mounted to the wooden board.
bingo bango

Finishing off

The batteries fit well, chargers are plugged in, and my bench is ever so slightly tidier!

The wooden board in place with batteries slotted in and chargers mounted. Power tools are off to the side on the pegboard.
A battery charging in one of the mounted chargers.
A view of the battery storage and its surroundings, including a shelf and pegboards.

🎉 Job done! 🎉


So how's it been going?

I finished this project almost a year ago at time of writing, and it's been working very well!

As soon as it was up, it was very natural to just start using it as if it was already there for ages, and it's been doing the job ever since.


The two chargers I mounted are maybe like 1cm too close to each other, so if I'm charging 2 batteries at once it's slightly squeezy to get them out, but other than that it Just Works.


Thanks for reading! xoxo

🔋
🕳️